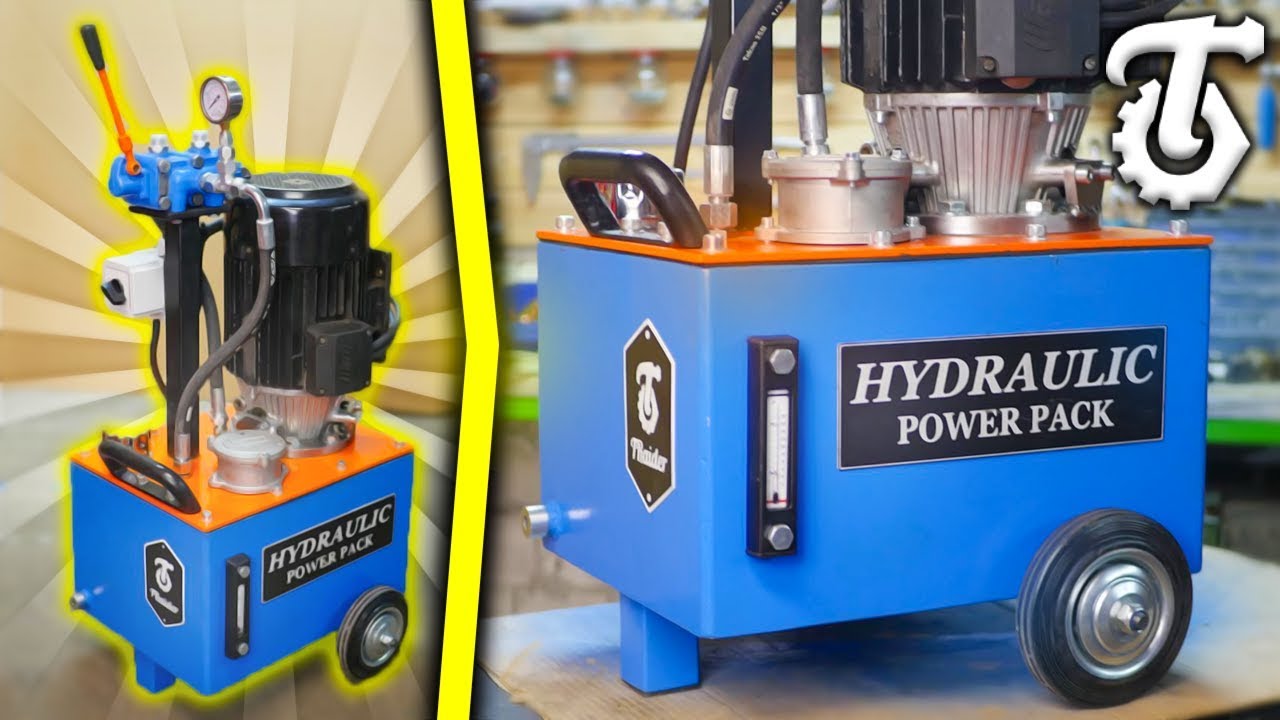
How to build a mobile hydraulic unit
When I started building the unit I had no idea about hydraulics. I assumed it was a very simple subject. I quickly realized that even for such a seemingly simple construction, once again (horrible!) I need math, which I didn't want to learn at school thinking it won't do me any good anyway
. Gathering experience in this field was extremely difficult for me because of the lack of friends in the industry and poor access to information. After exhaustive research on the Internet and books, after 2-3 weeks I was ready to start working. Because of the information and insights I gained I give you on a plate
I hope that you armed with my tips and head on your neck you will gain this secret knowledge in 10 minutes. 🙂 I also hope that you will avoid unnecessary expenses, accidents and save time. Most of the advice is taken from life
and is based on my mistakes. I don't take responsibility for what you do in your own workshop, so be careful - there are no jokes with plumbers. 😀
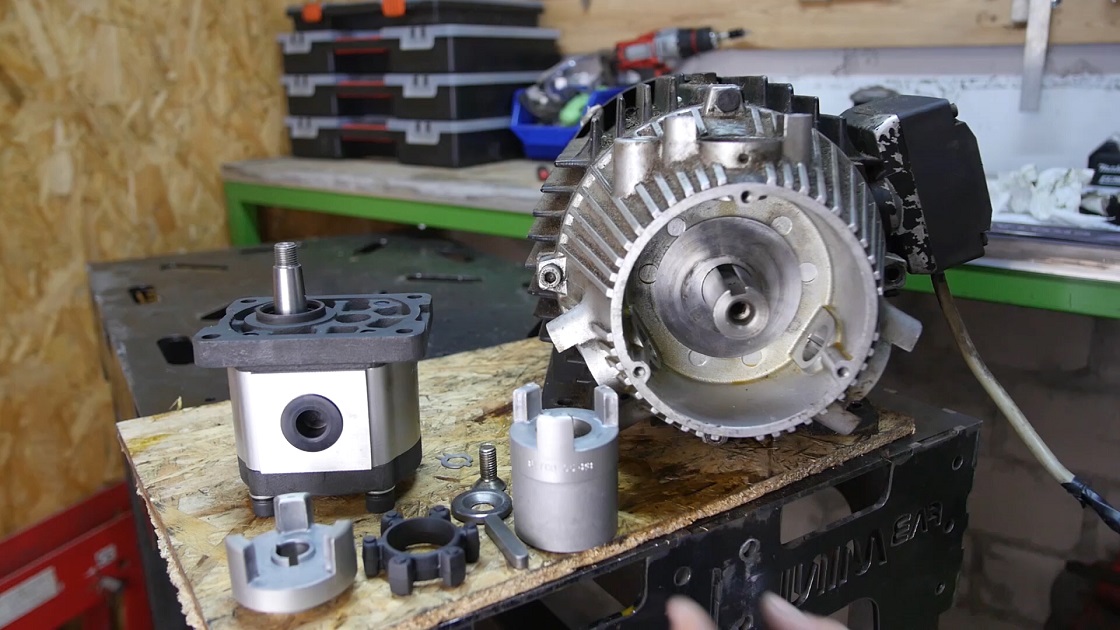
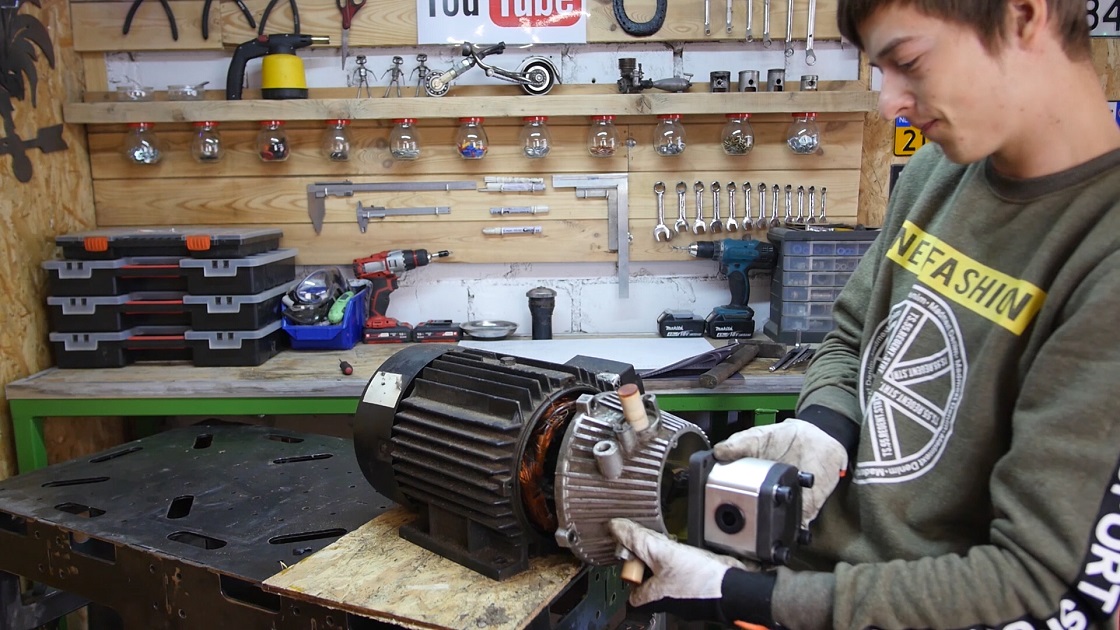
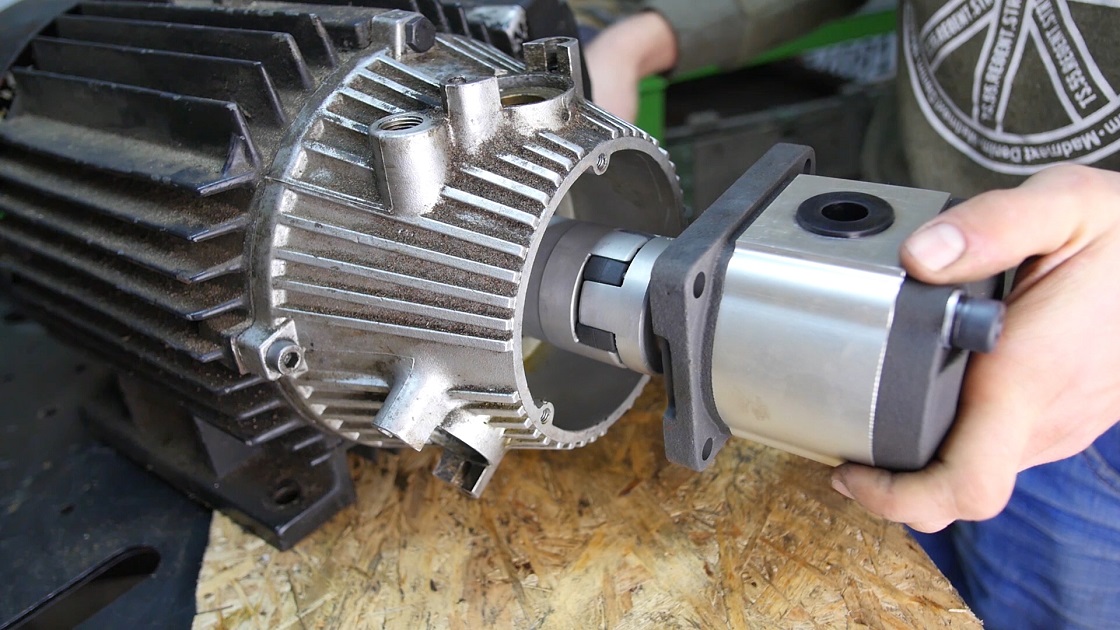
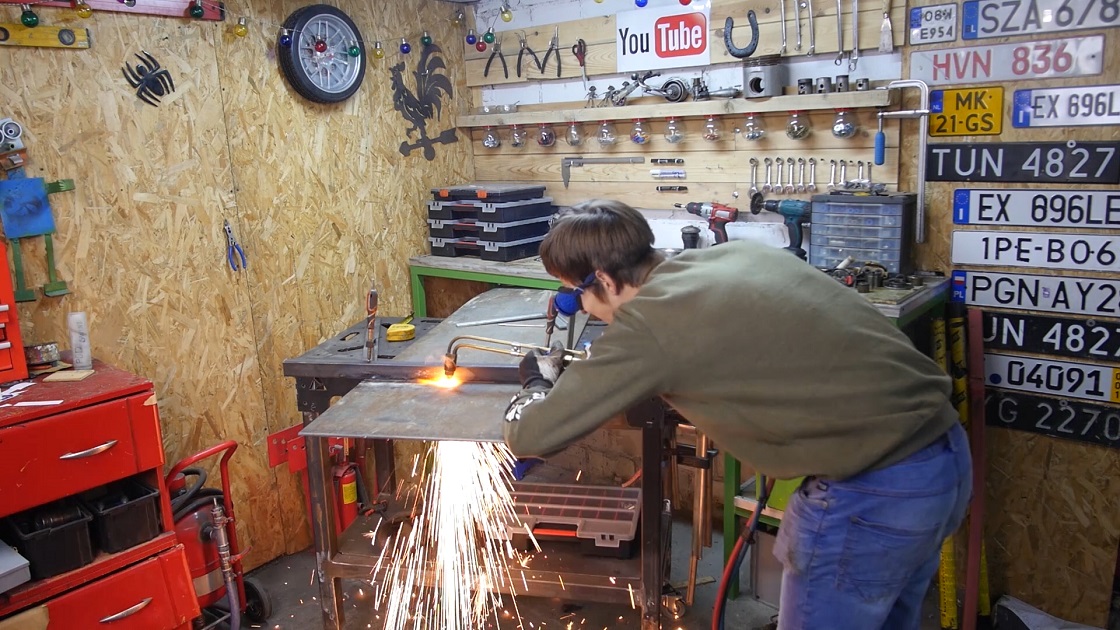
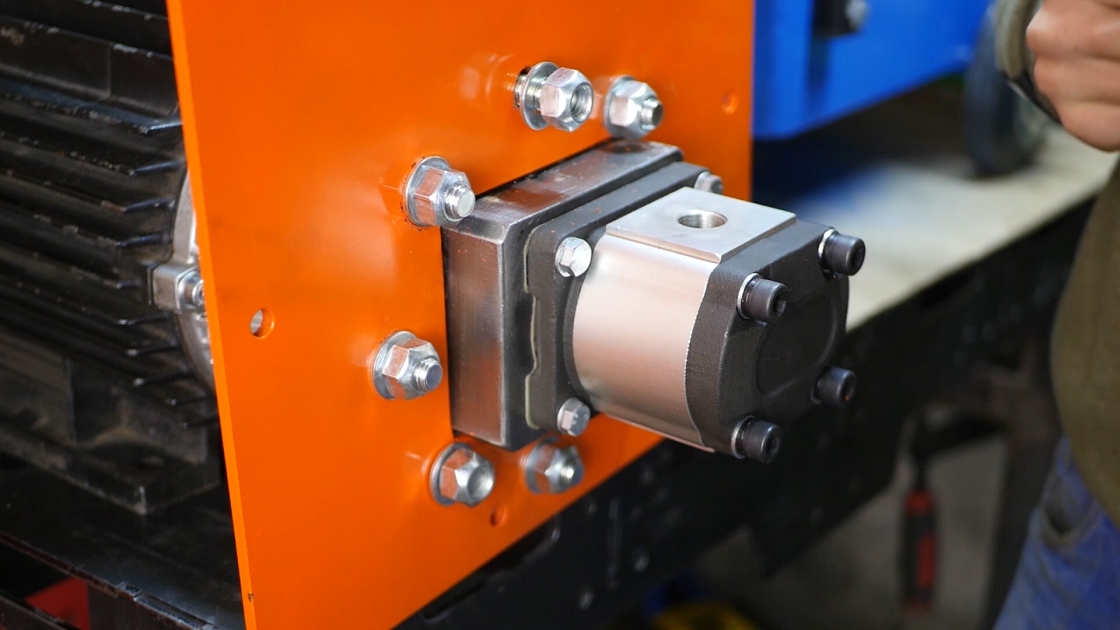
The best way to start work is to connect the electric motor to the pump. This is a very easy task if you have a larger budget, because there are ready-made parts available for this purpose. You need to buy a motor with flange mounting, bell coupling, claw coupling, and pump. However, make sure that all parts are compatible with each other.
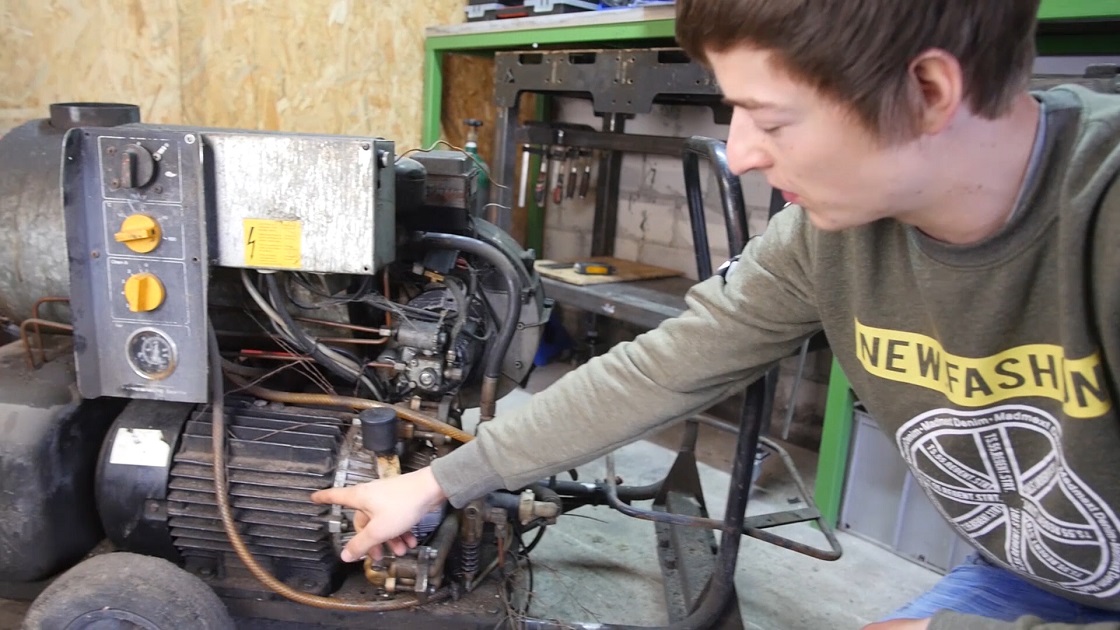
I used a recovered engine I found on scrap metal in my project. I made the bell switch myself, because the original one would not fit my engine. Fortunately, I managed to use the original clutch.
When choosing a pump and motor you must first consider what you want to use them for. This is important because of the expected parameters, i.e. working pressure and litre capacity per minute. The first parameter concerns power and the second the piston stroke.
For example, if you want to use a press unit, you should buy a pump with as much maximum pressure as possible and as little flow as possible per minute. In this way you will get a slow, accurate operation and at the same time high power. When building a shovel, the opposite is true - you will need a very fast piston stroke, with relatively little power.
My unit is designed to serve both press and slate, so I made a compromise and chose the parameters in between; however, as is well known, if something is good for everything, then it is good for nothing
.😉
Remember also that increasing power parameters or litres per minute increases directly proportionally the demand for the size of the electric motor. To make things easier I present a mathematical formula I used:
For the extension speed
For the power in tons that we will get
What kind of engine do we need (will soon supplement the article)
The hardest part is behind you. To move on to the next stage of construction you will need the following parts:
tank construction sheet
Wheels
Oil drain plug
Blue paint, stickers ;)
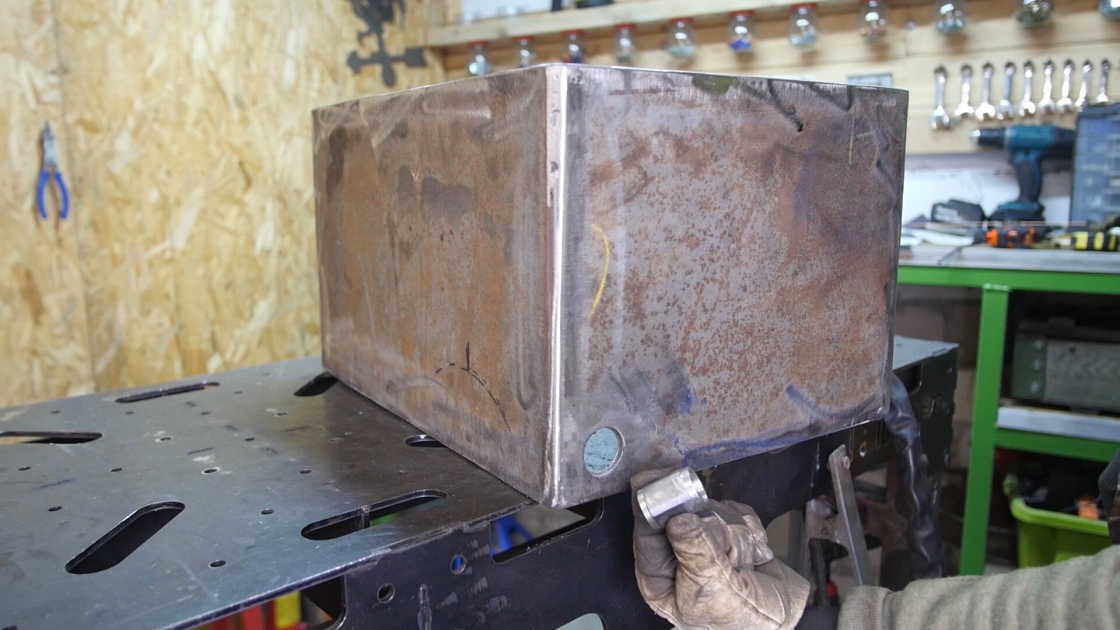
Once you have the above elements, you can move on to building the tank. Remember to pre-match all components.
To design a tank you need to know several values:
the capacity of your cylinder, (or all cylinders to be supplied) at maximum extension.
You can use a pattern for this: π(d/2)²-l, where:
d - inner diameter of the cylinder
l - length of our cylinder
Once you know that you need, for example, 20l of oil for the cylinders and cables themselves, I recommend that you increase this value at least three times. (WTF?) Why?
I'll explain.
First:
Do not attach the pump suction cup at the bottom of the tank so that it does not draw dirt from the bottom.
Second:
The oil heats up while the unit is running and there will be more oil. When there is more oil, it will heat up longer.
Third:
Even a new actuator causes gentle oil loss. The bigger the stock we have, the less often we have to refill it.
Fourth:
Future-thinking ahead - if you ever want to connect a larger actuator, you won't have to rework the tank.
Of course, a large tank is not only an advantage, but also a disadvantage. As you can easily guess, a larger tank will be heavier and thus less mobile. In addition, it will need more oil to work, so the unit cost of buying oil will be higher.
If you already know the capacity of your tank, the next step will be to calculate its size. For the tank itself you can use your old LPG tank. I personally do not recommend such a solution if you do not know about it. I mean your safety, of course. (Cutting the tank can be compared to mushrooming. Apparently, a poisonous mushroom can be eaten, but only once. So is you know what.) The formula for a 60l cylindrical tank:
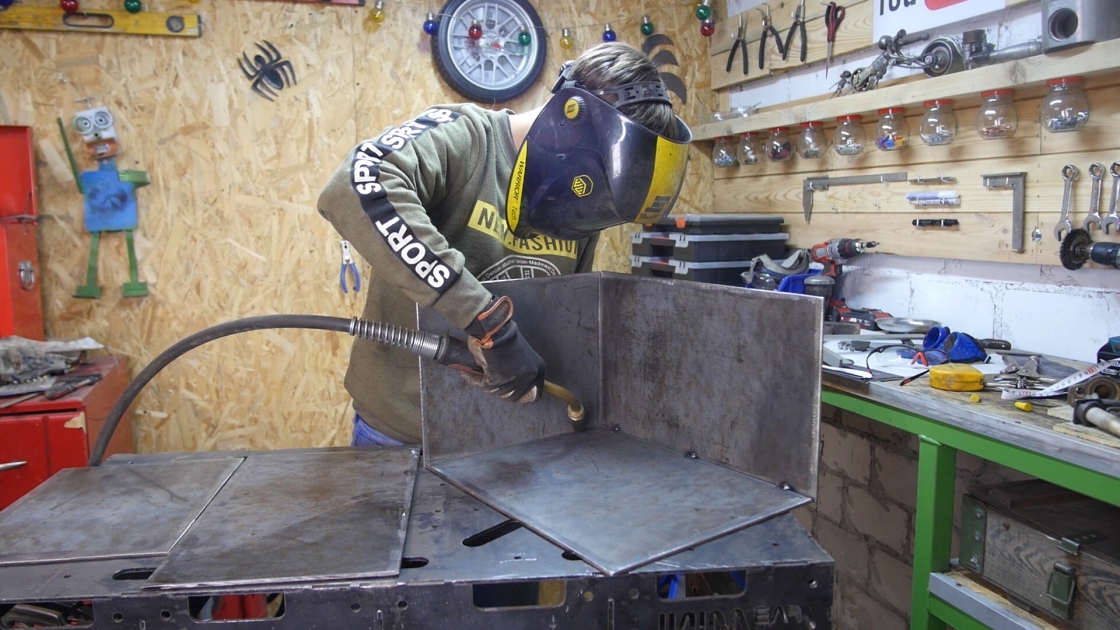
However, once you have realised that using an LPG tank could nominate you for the Darwin Award, I recommend that you build a tank with a cuboid or cuboid shape (which you like).
Formula to get 60l: (here's the formula)
I often got questions about exact dimensions and looked for them myself. I hope I've explained enough above why I shouldn't impose on you.
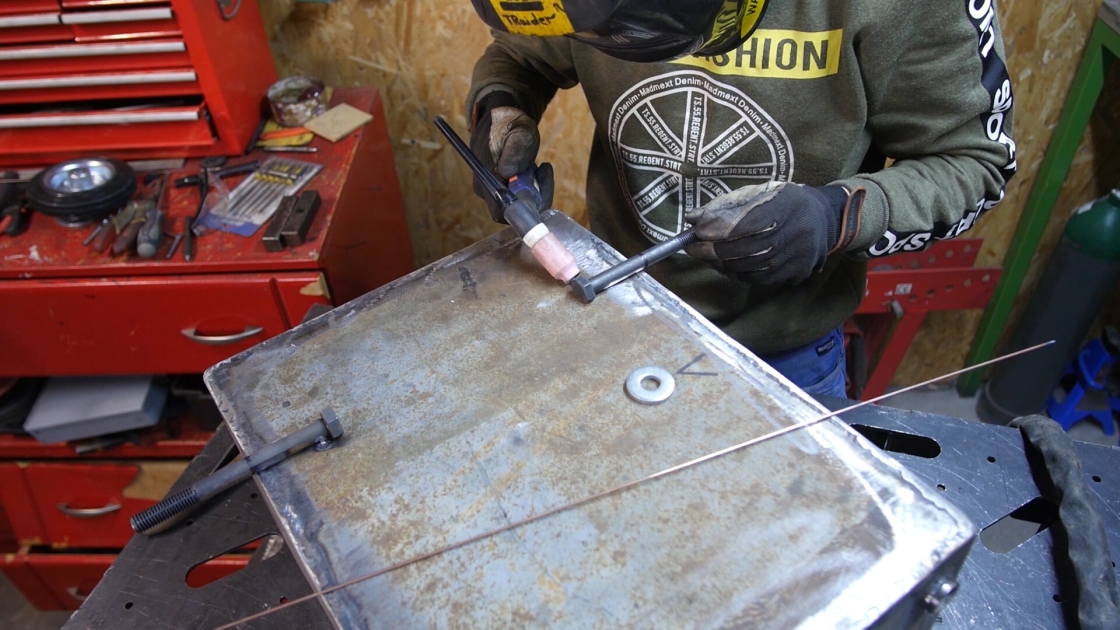
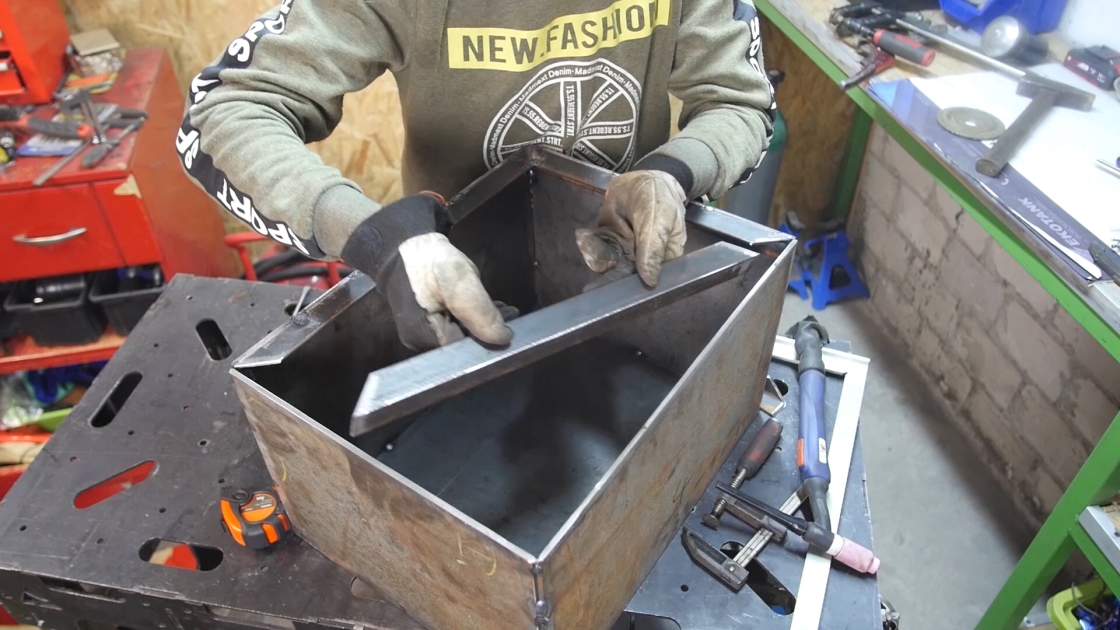
Weld a thick angle on top of the tank, one in which you can make a thread.
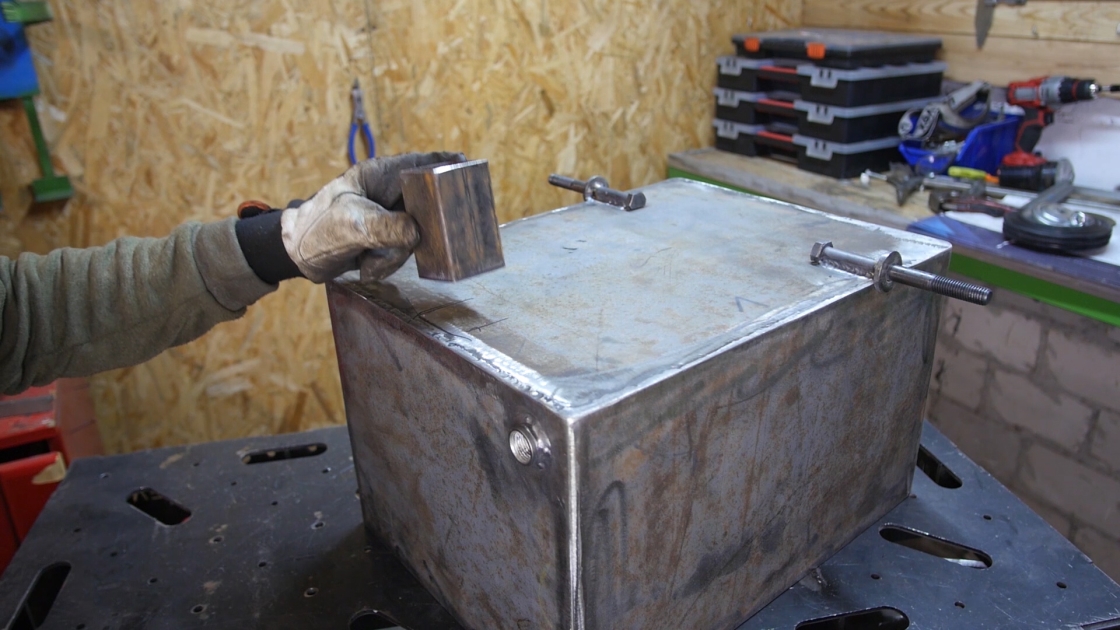
If you want your unit to be mobile, which, by the way, I recommend to you, you must wholeheartedly weld the axle to which you will attach the wheels and make a foot.

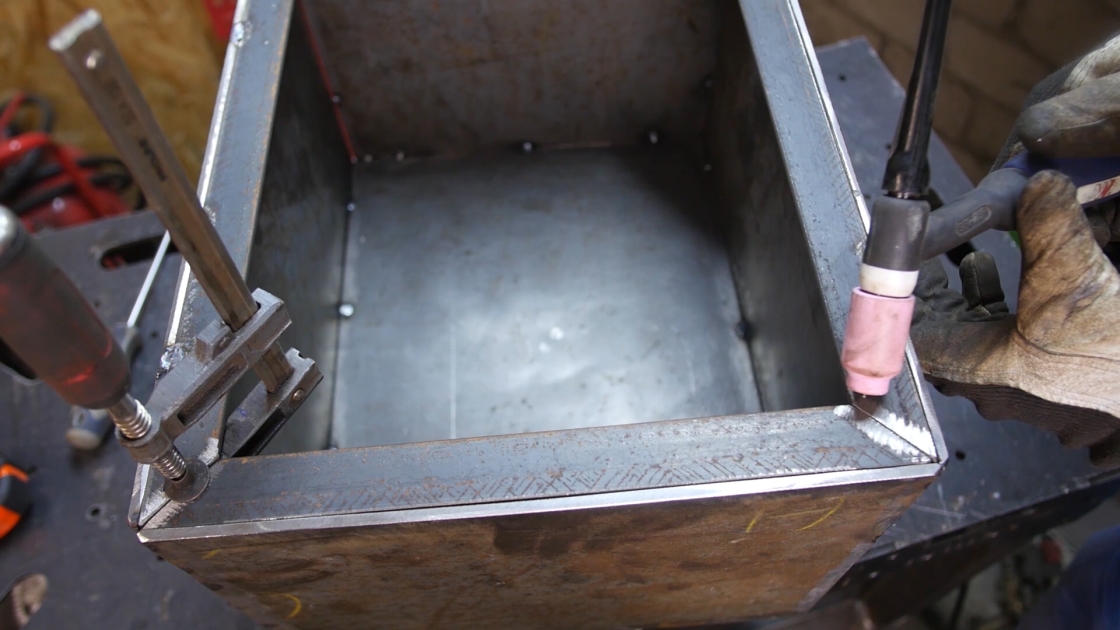
The tank skeleton is ready.
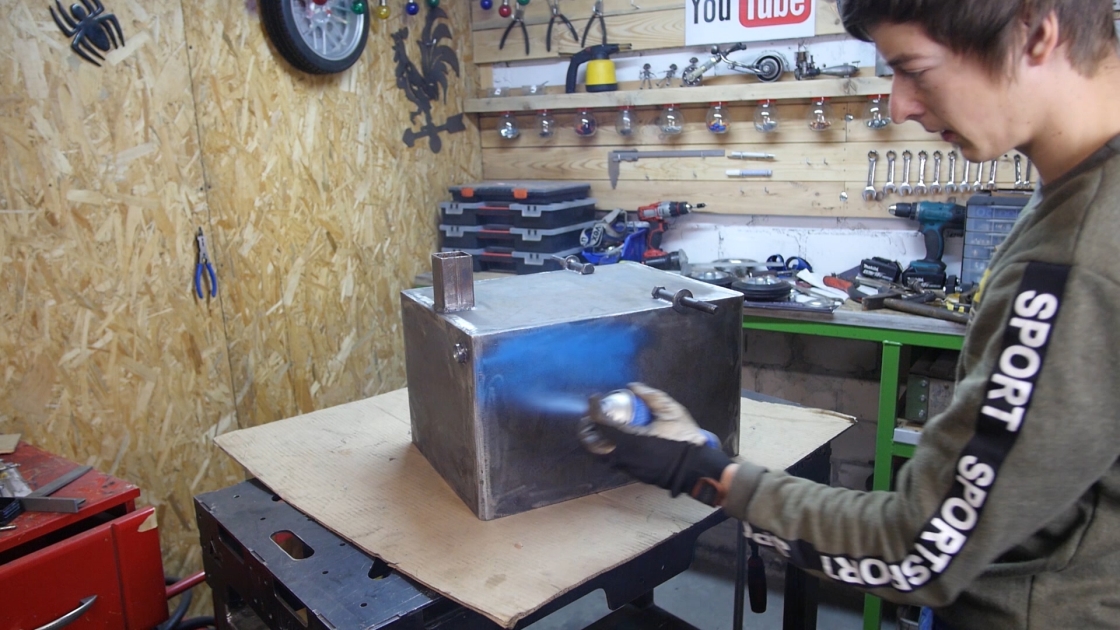
If you want to brag about your unit among other Mireks, it's nice if you still paint it to make them green out of jealousy.
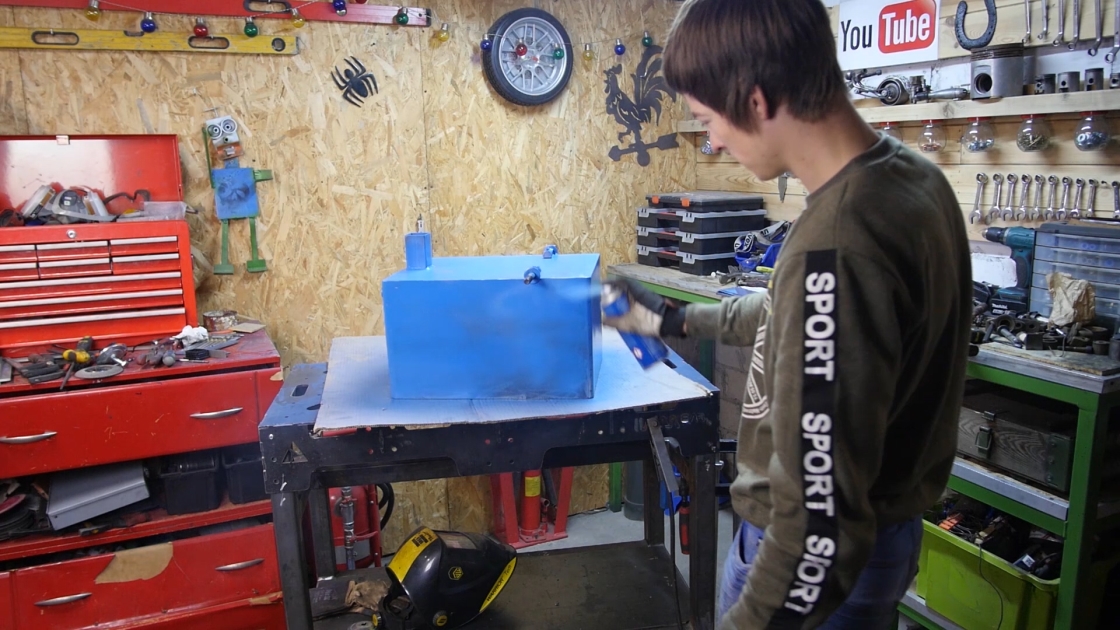
Besides, the painted tank looks much better and it will be nice for you to screw the next components.
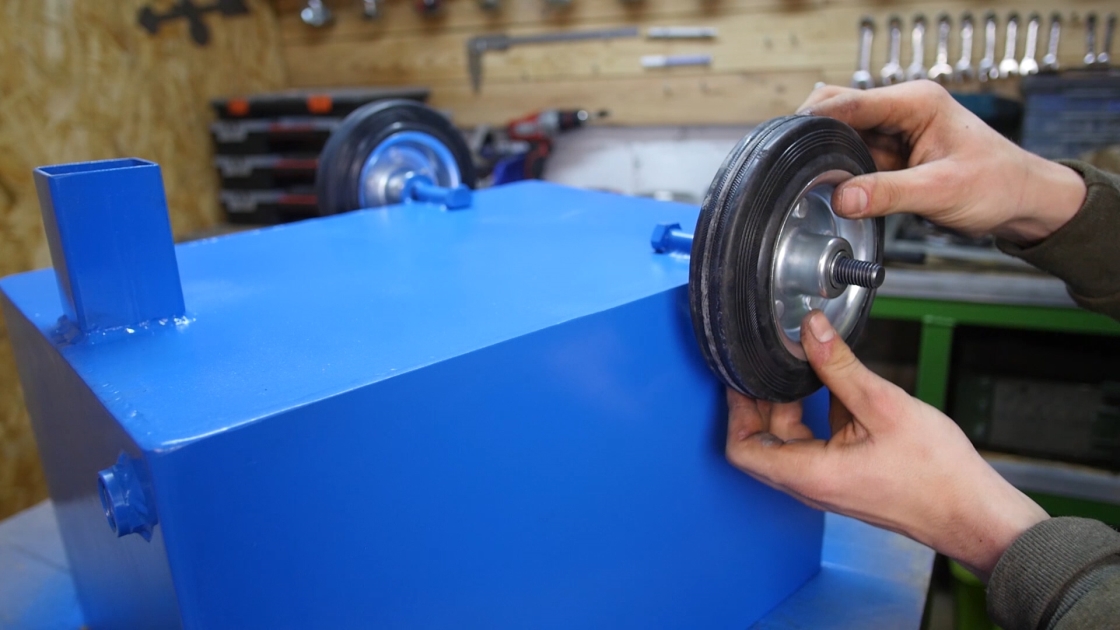
It's time to mount the wheels...
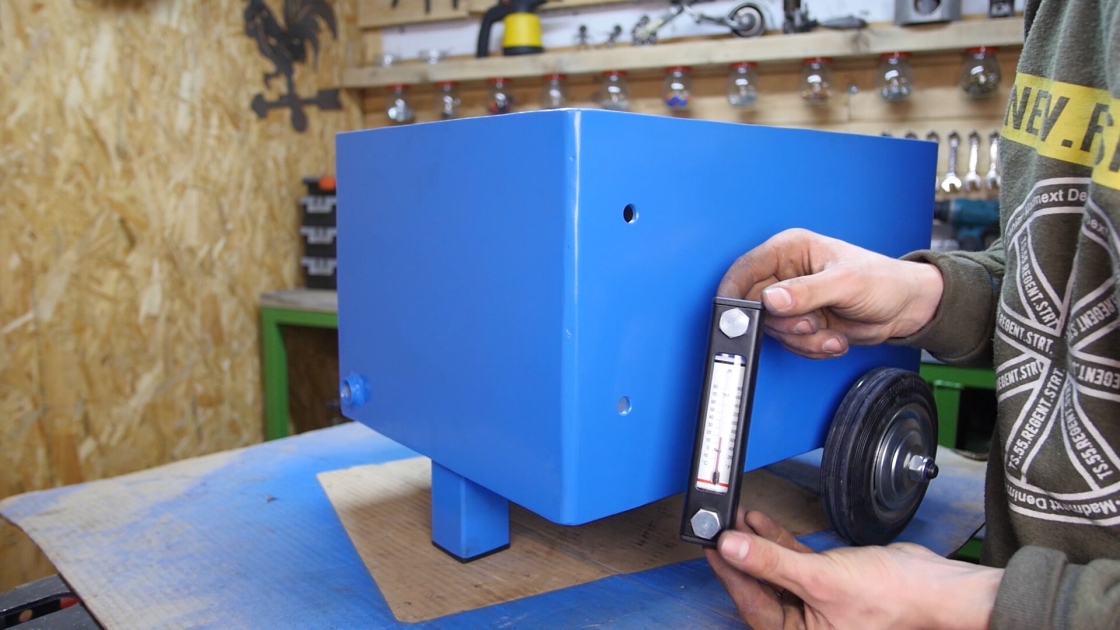
...and a thermometer with an oil level indicator.
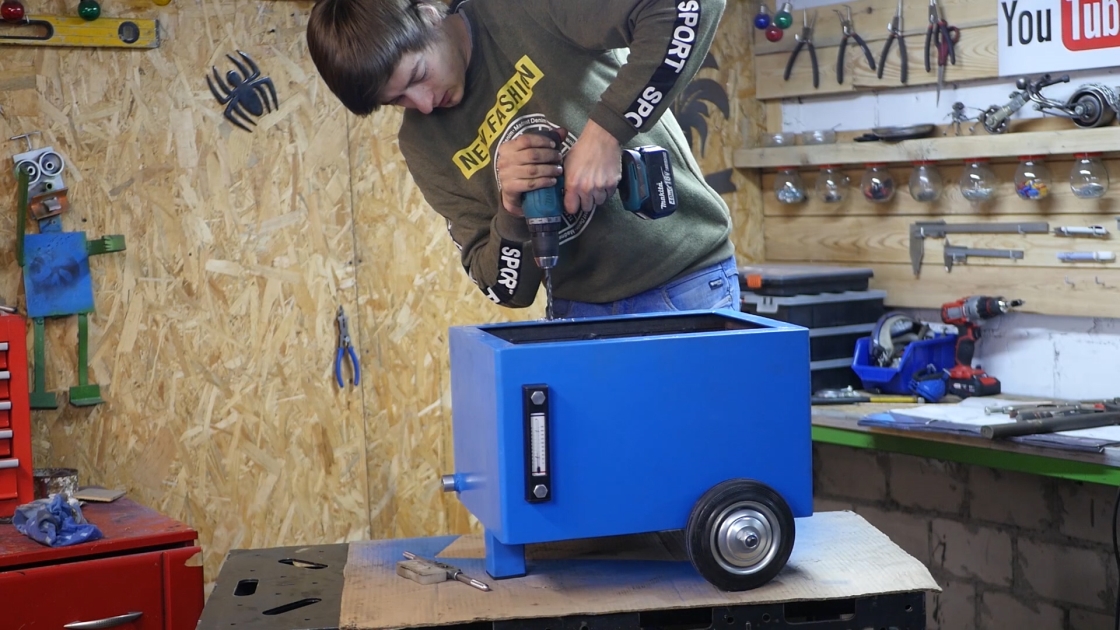
Drill holes in the bracket, which you will drill later.
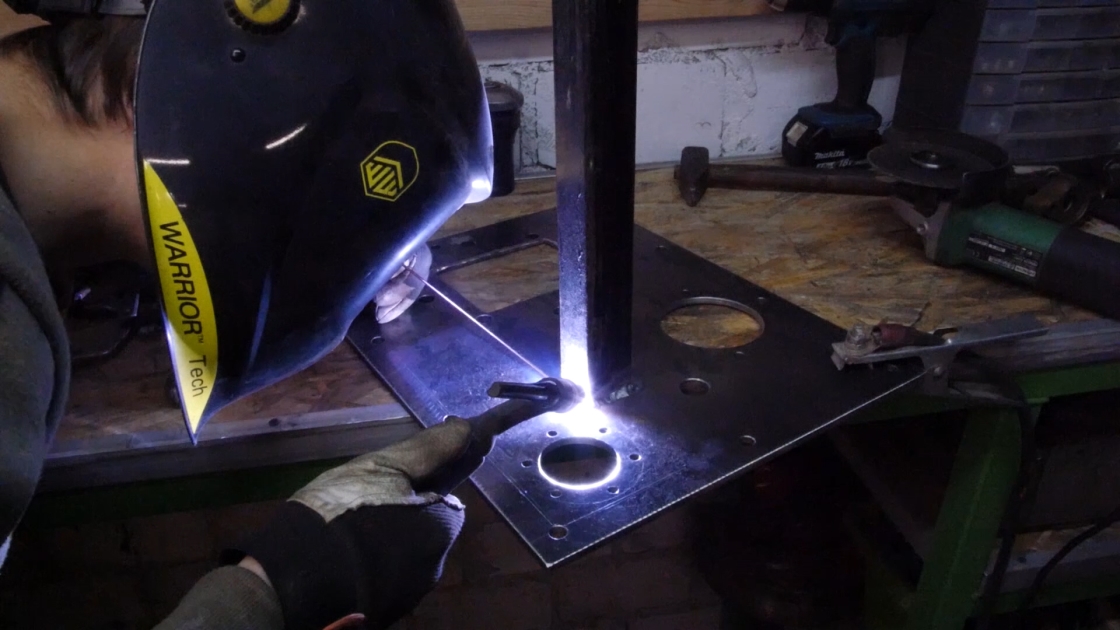
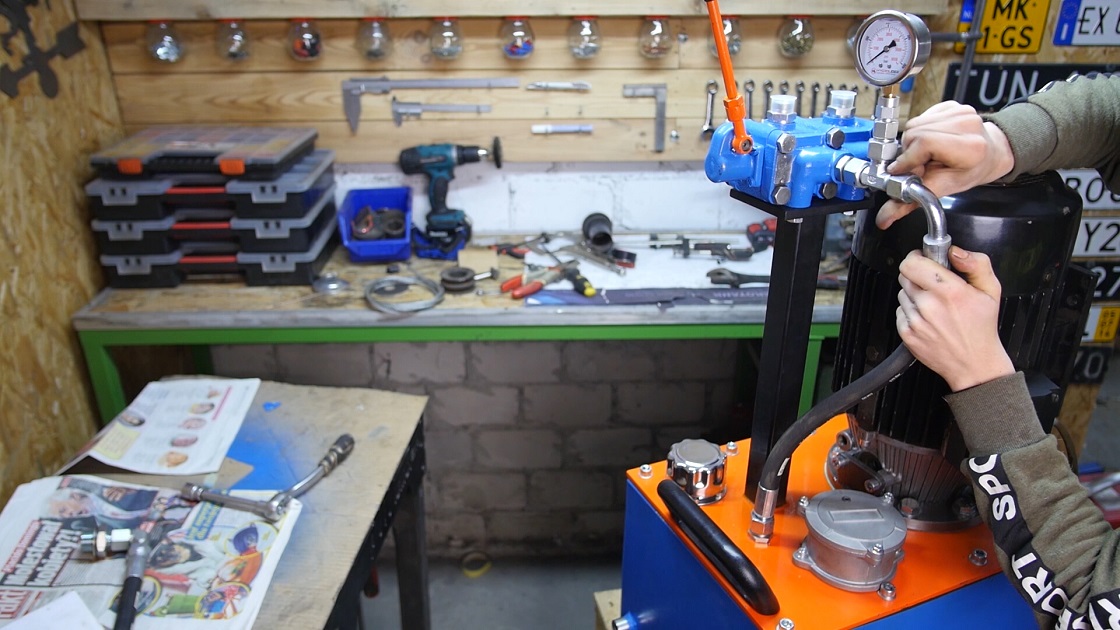
Super! The tank is ready. Time for the mounting plate. This is my favorite construction stage. You're gonna need all the parts you want on this plate, so:
The bulkhead switch
bell switch
The filler plug
Oil filter
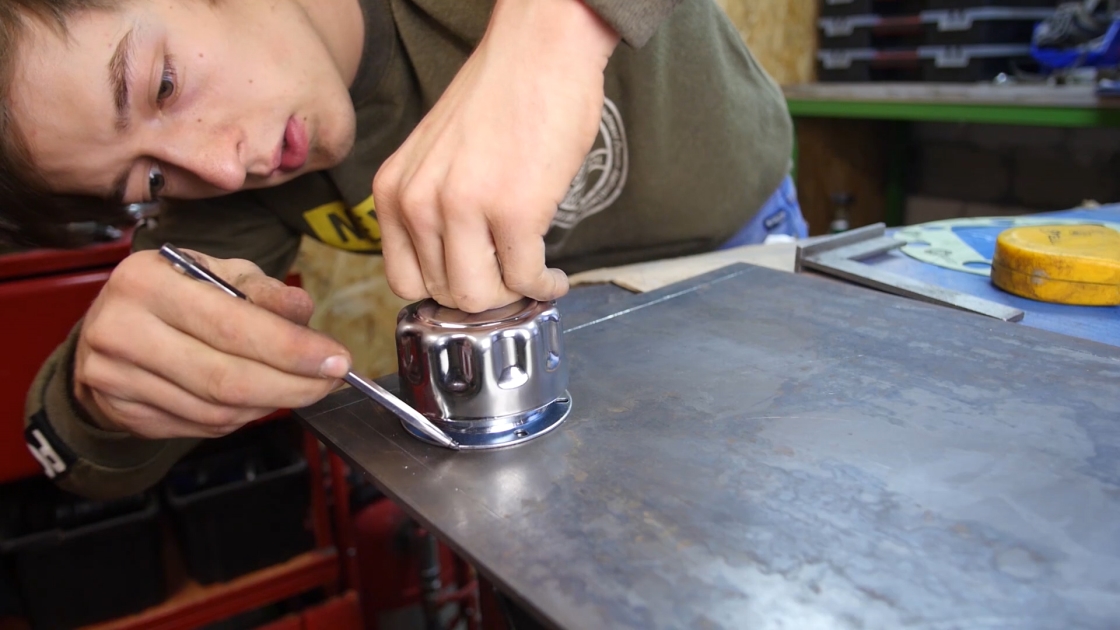
Draw out their shapes. That's the easiest way...
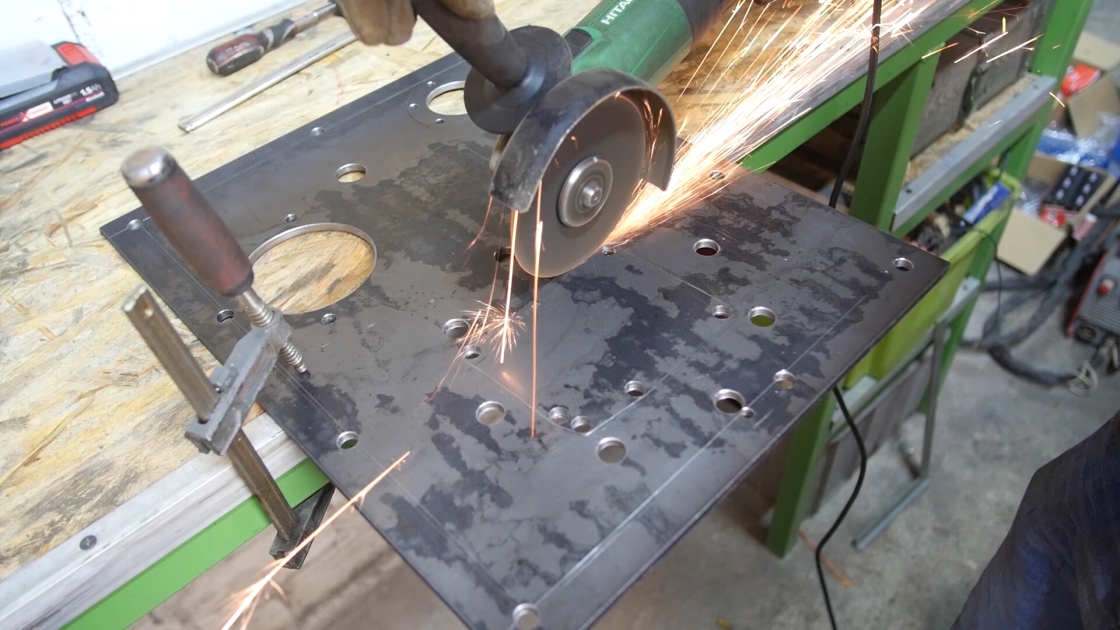
...and get on with cutting and drilling.
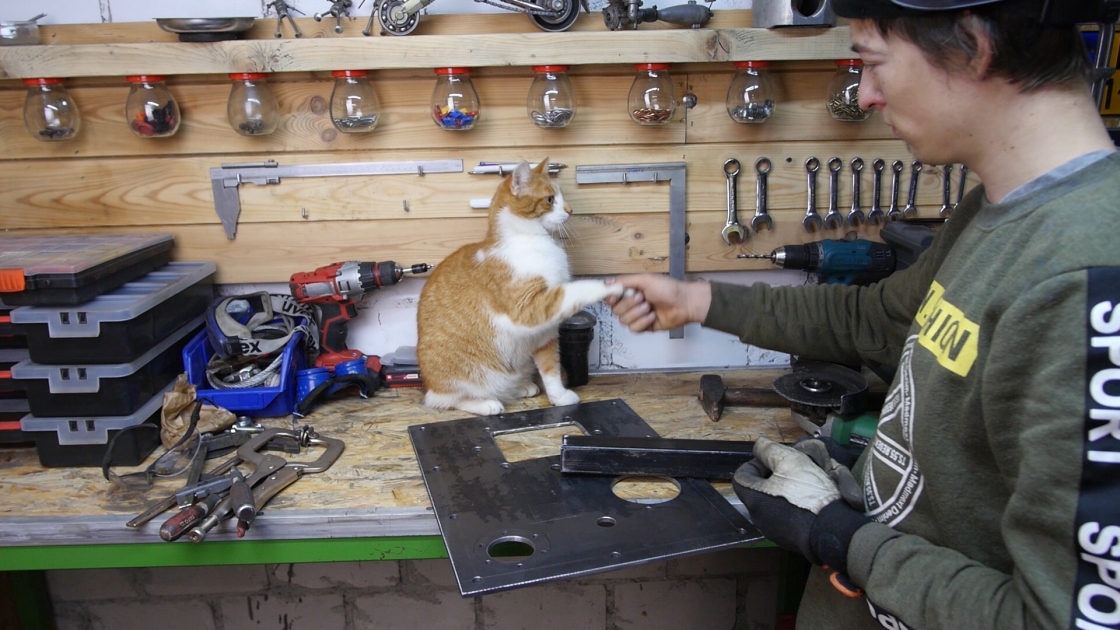
We'll need a helper for the next step. ;)
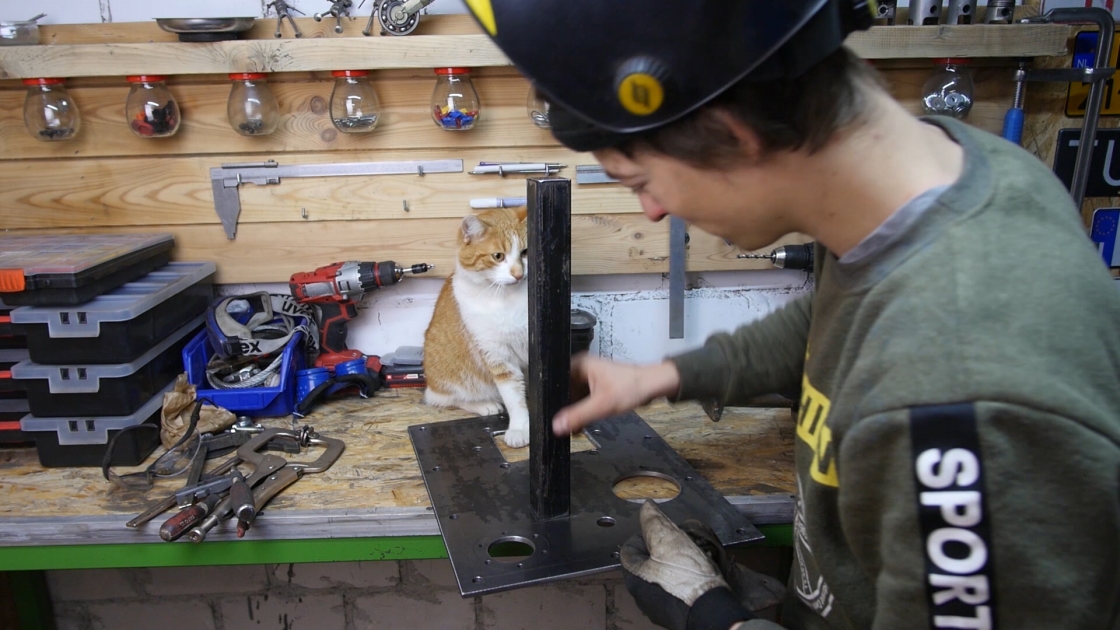
Now it's time to weld the leg
(profile), on which the manifold will be placed. Here too, I can't give you specific dimensions, because everyone can buy different parts (with different dimensions).
* welding *

The mounting plate should also be painted here. It is best to do it at this point, so as not to undress everything later and waste the seals.
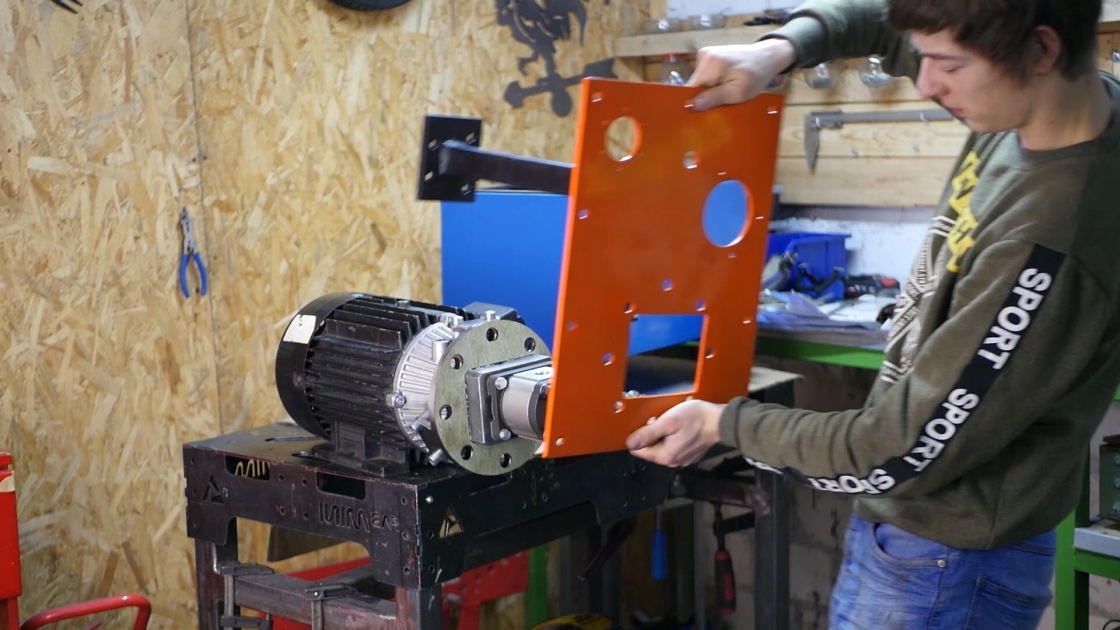
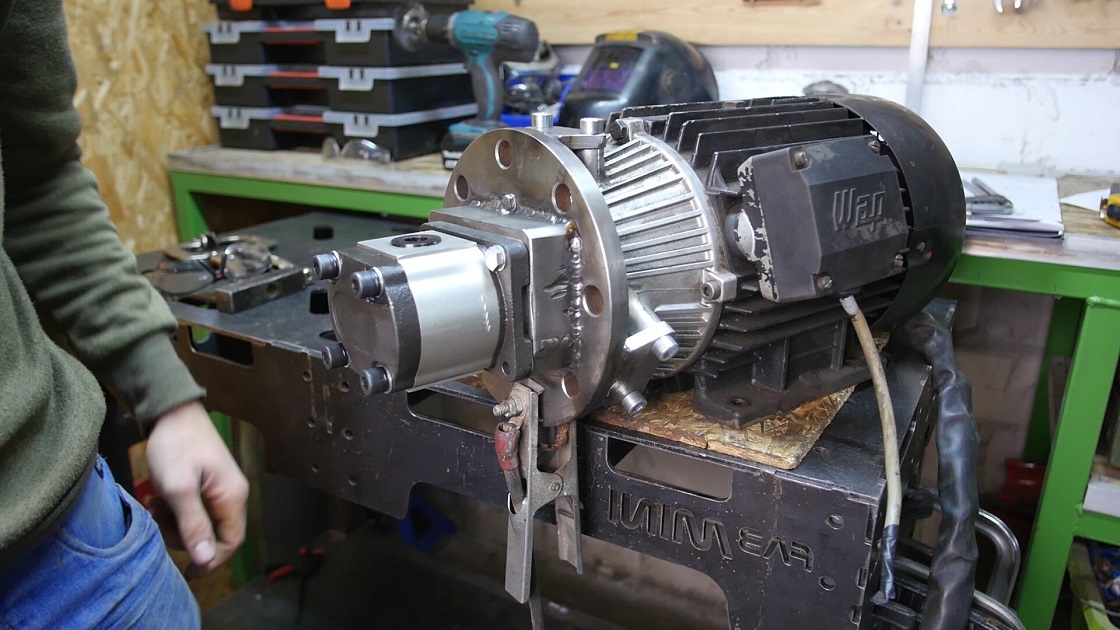
Screw in the electric motor, remembering the seal.
Use self-contracting nuts to fix the motor.
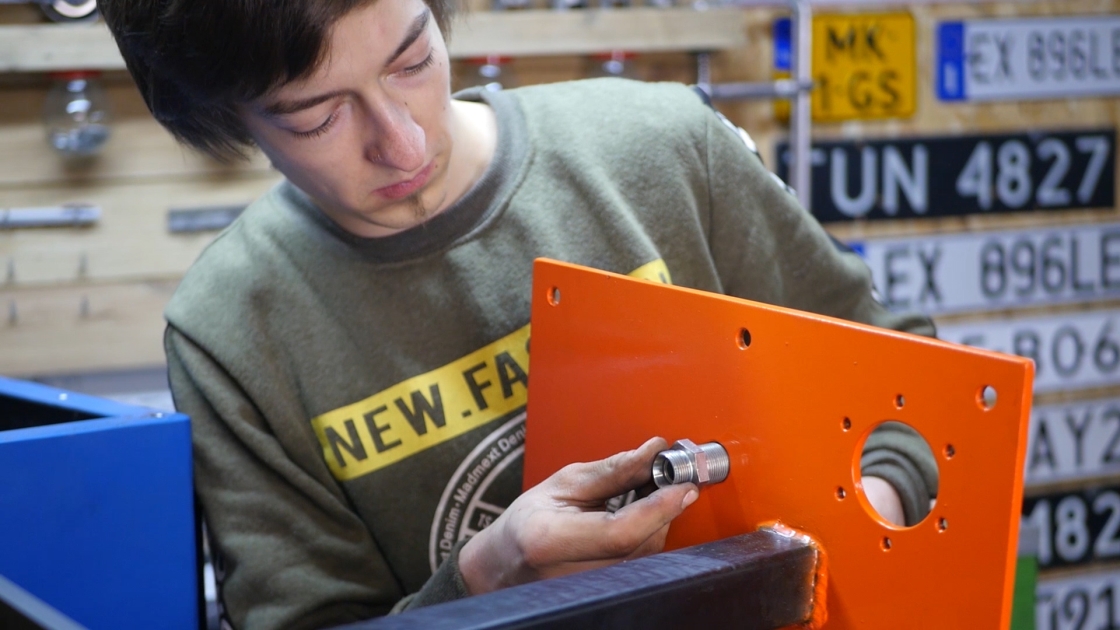
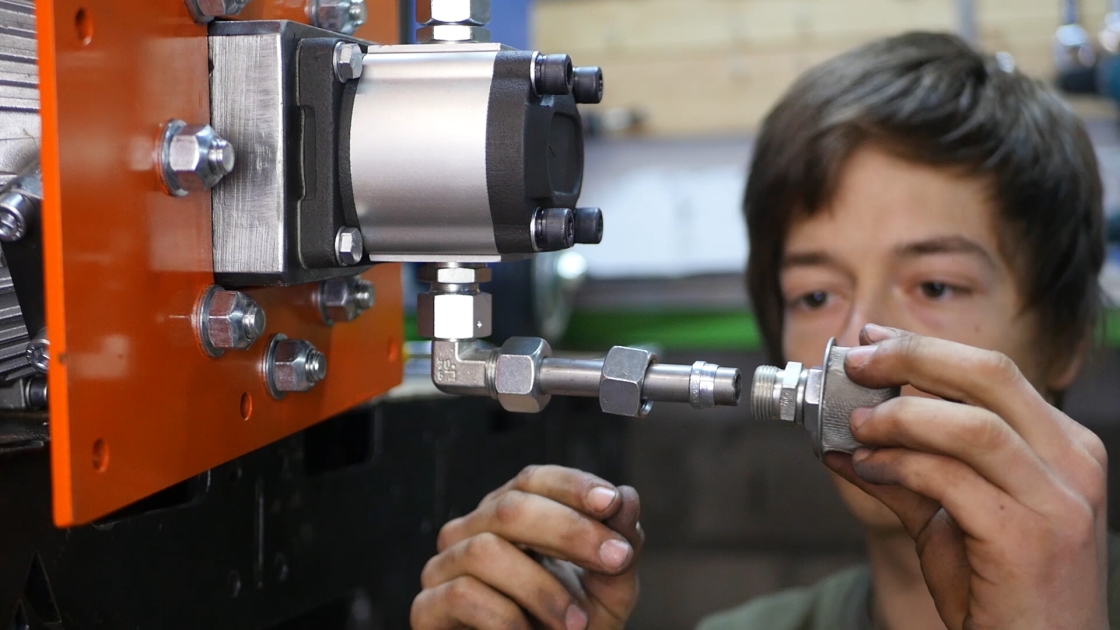
Now it's time to mount the bulkhead switch.
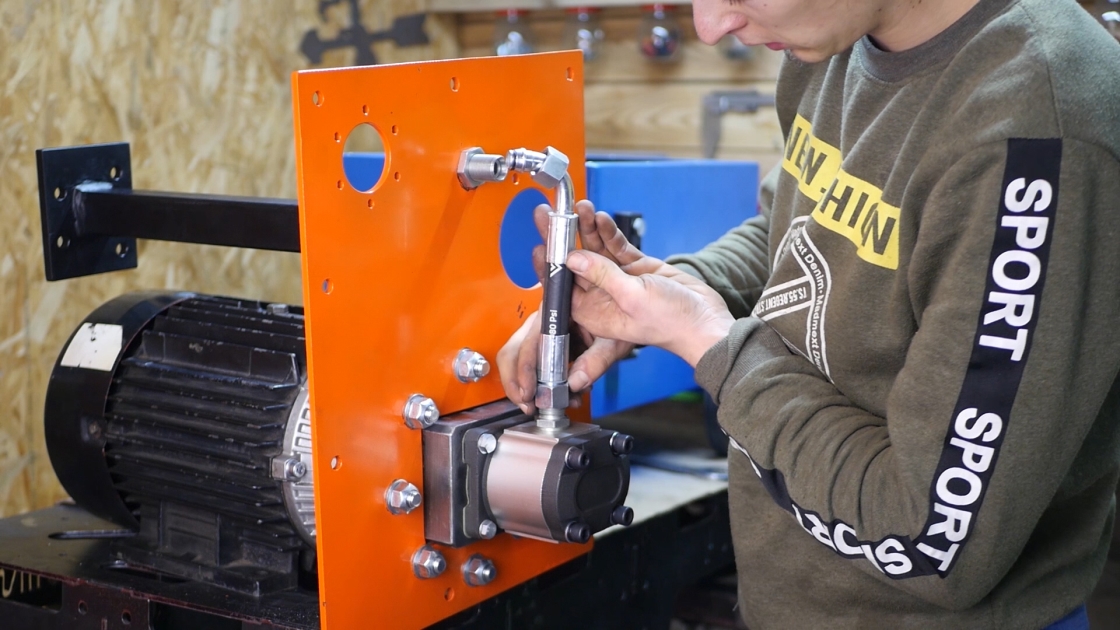
Once everything is twisted, determine the length of the hydraulic hoses that you will have to lock in a special plant. Don't make my mistake and don't buy them before, because they are very hard to hit with size. I had to buy them twice. Not only am I not too much of a guy, but now I'm also poor.
If you want your unit to be always in good shape like Krzysiek Ibisz, mount a sieve on the oil suction cup.
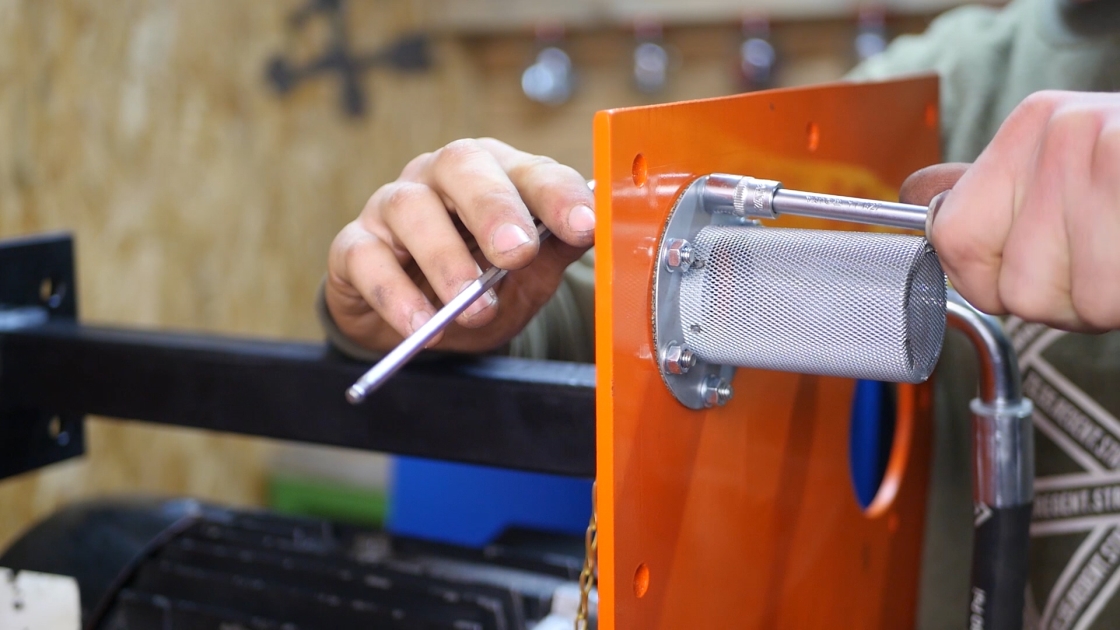
A sieve under the oil filler plug will further reduce contamination in the tank.

Now make sure you don't have a cat in the tank. If you've established that it's empty, you can turn the mounting plate and the tank together.
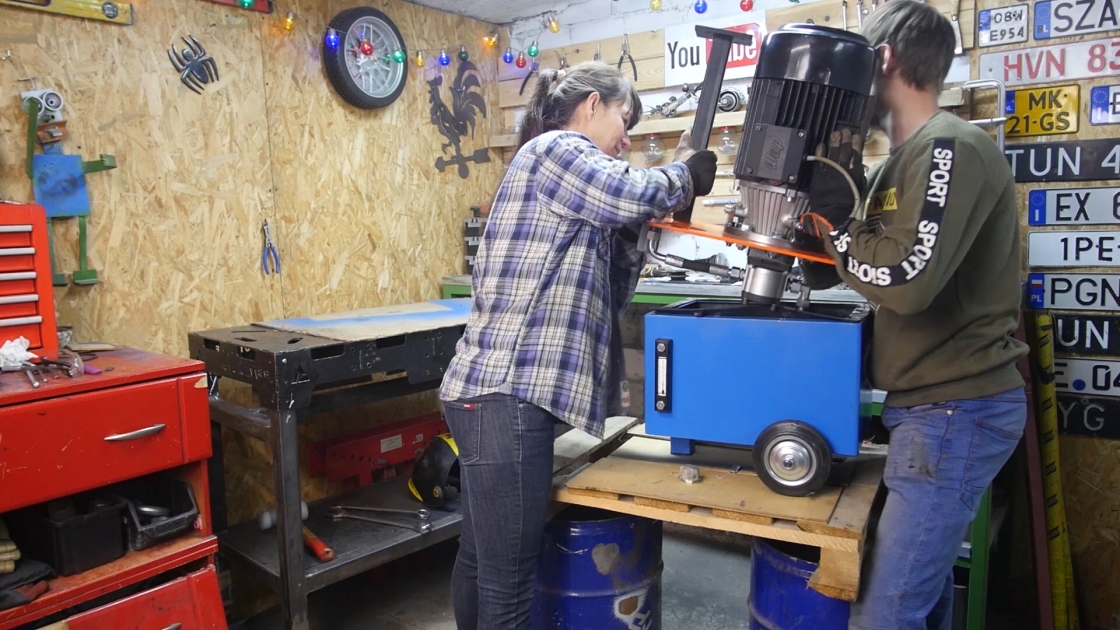
at this stage you'll also need a helping hand from a colleague, or we have ;)
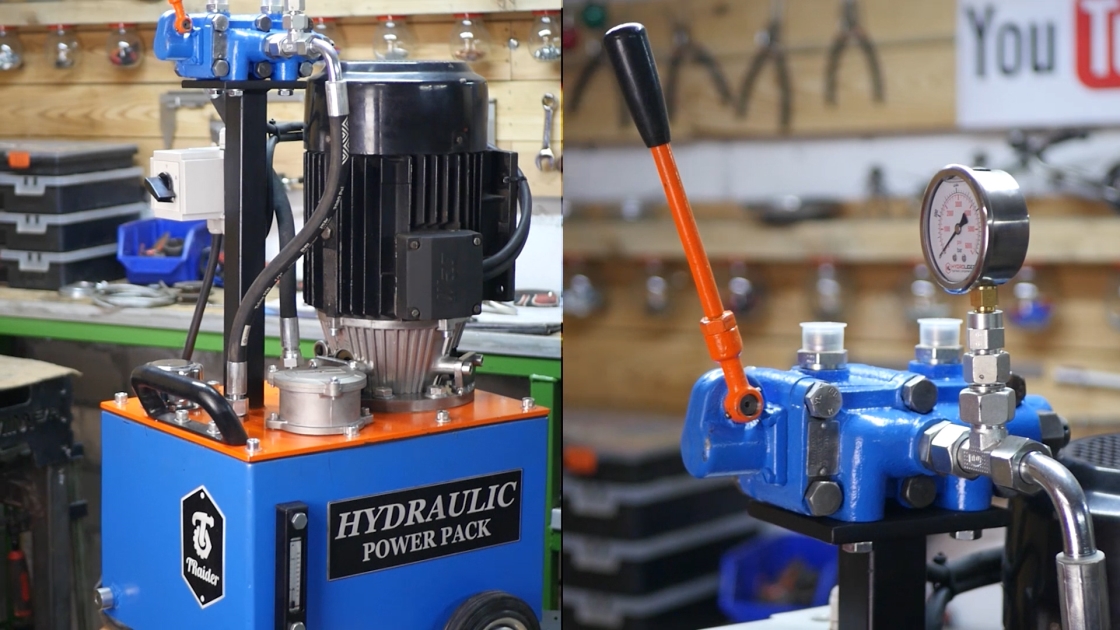
When twisting the cables to the manifold, make sure to connect them from the correct side! You can see how I did it while watching my movie. The supply line from the pump is usually (as a rule!) connected from the side where the pressure regulator is. There should be arrows on the new manifold, but if there are no arrows, just check its specifications.
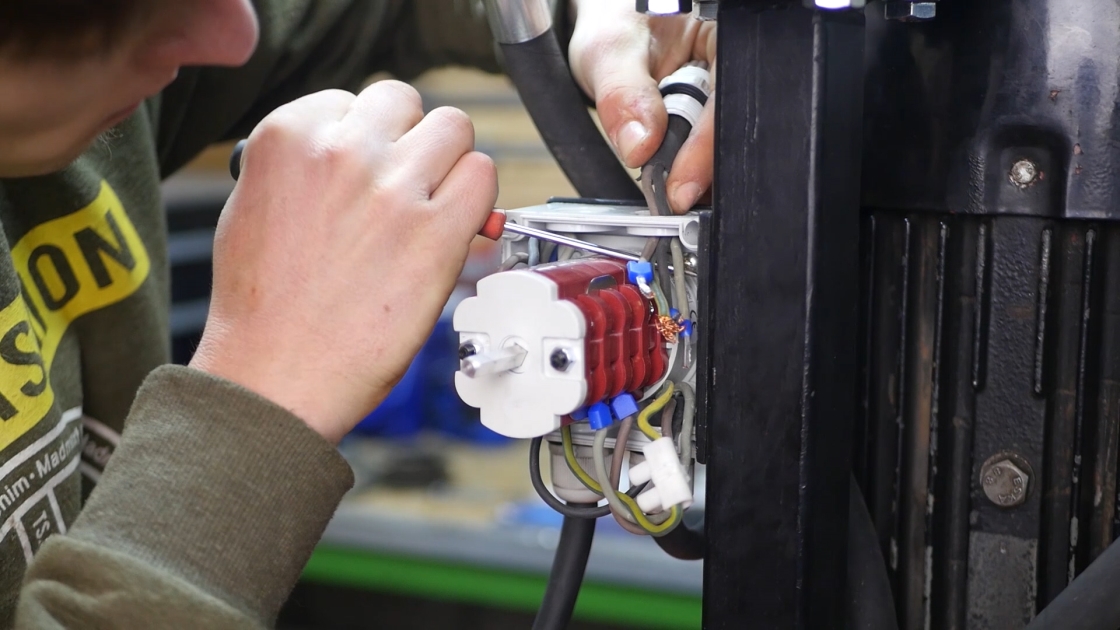
Congratulations. You're on your last straight. Now it's time for the electrician. I've connected the motor to the star triangle, but it's not required (at least to the 5.5 kw motor). Maybe subconsciously I wanted to cure my complexes for comments under another movie. that I can't do that. 😉 Generally it's not difficult, but be careful here. No jokes! 😀
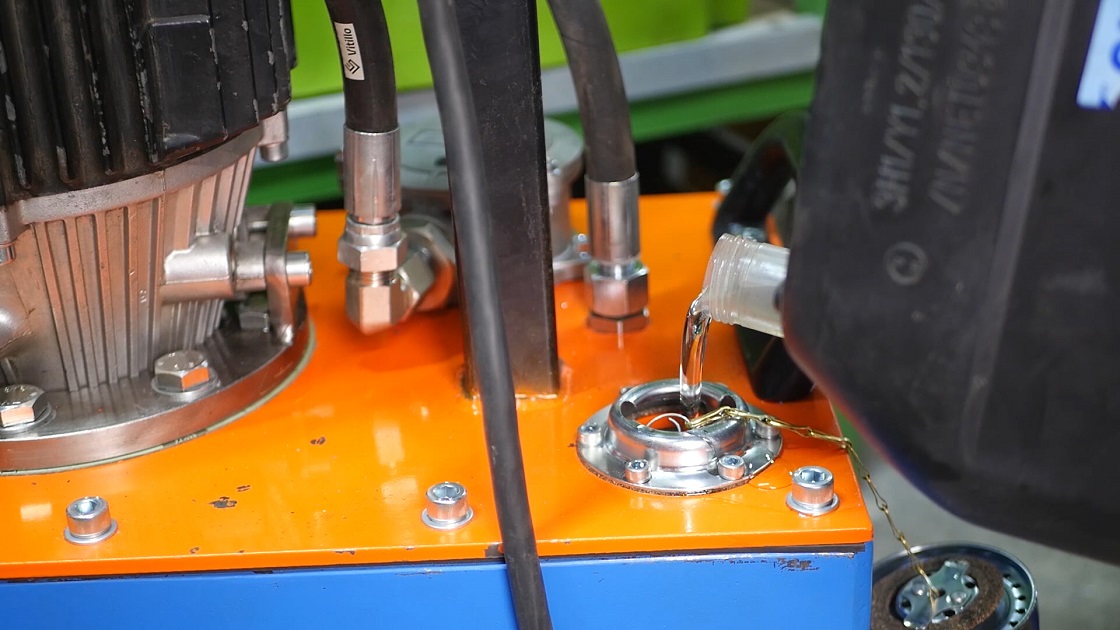
Now all you have to do is pour the oil and do the test.
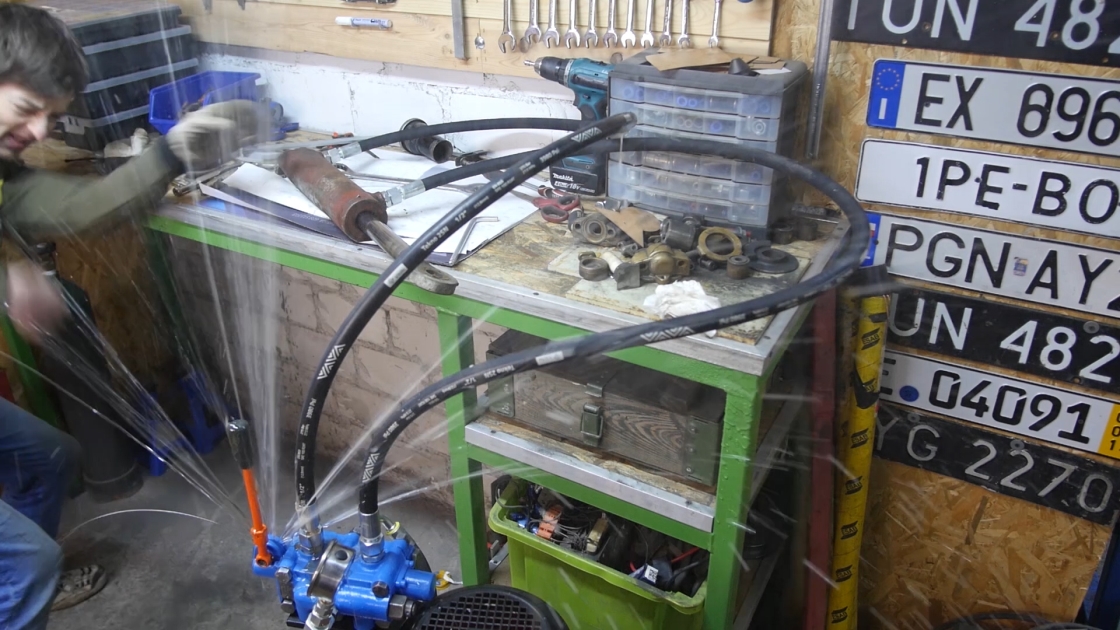
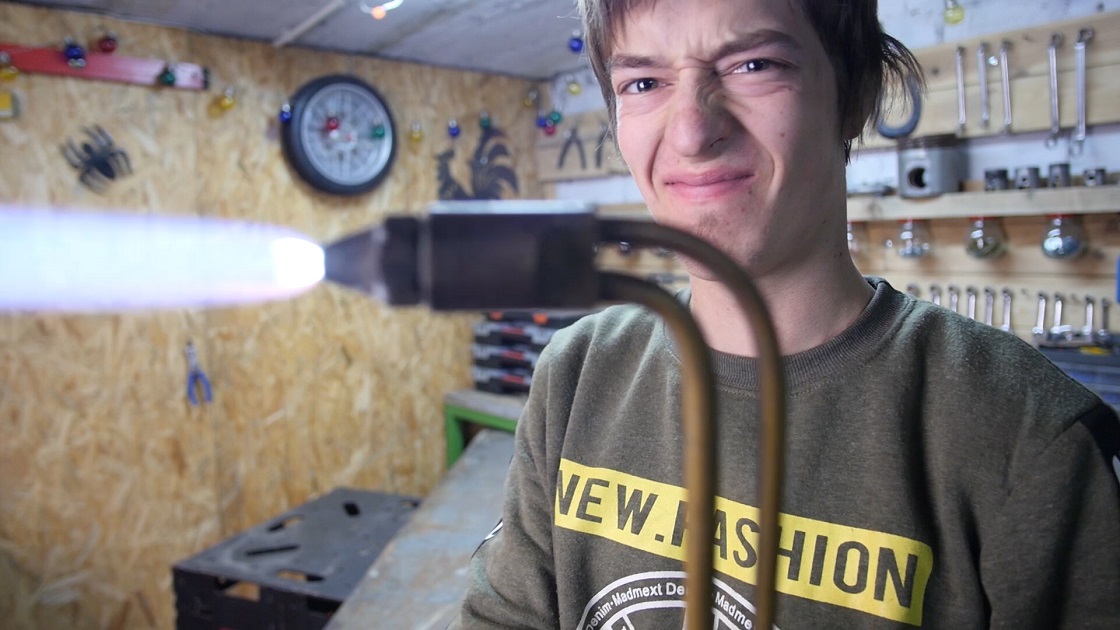
Finally, one more friendly piece of advice. Check carefully to make sure that the parts you buy from scrap metal are suitable for use. As you could see in my film, I've ended up with an uninteresting situation. I flooded the whole workshop with oil, and by the way, I found out that washing the oil out of my hair is not an easy task. 😉
Bright! Your own, wonderful, delicious, unique hydraulic unit ready!
The above article is available for free, expecting nothing in return. Still, I will be very pleased when you send me a picture of your project after building your unit, to which, as if not looking at it, I added some advice. 🙂 This will be the best return and a sign for me that what I do makes sense.
If you want to support my further development, you can make a voluntary donation. I will be happy to give even 1 zloty (in words: a zloty ;)), because after deducting 18% of the tax I will still receive a dizzying 82 grosze. :D
At the bottom of the article there should be a button from donauts ;)
Thank you!