How to build a hydraulic cylinder
In today's article / guide I will try to explain the construction of the actuator. Unfortunately, as in the previous project, I had a lot of problems due to the lack of friends who would be in the subject. You often ask me about the cost of a given project, so the list is listed below.
At the beginning, I would like to point out that I personally bought a ready-made piston and gland. I did so because they were cheaper than the material I would have to buy to make them. (I know-weird) You can also explain it by the fact that I couldn't do it and I went for the easy way ;) , In the case of building an actuator, the order of actions until a certain moment does not matter, but I will describe everything according to my film.
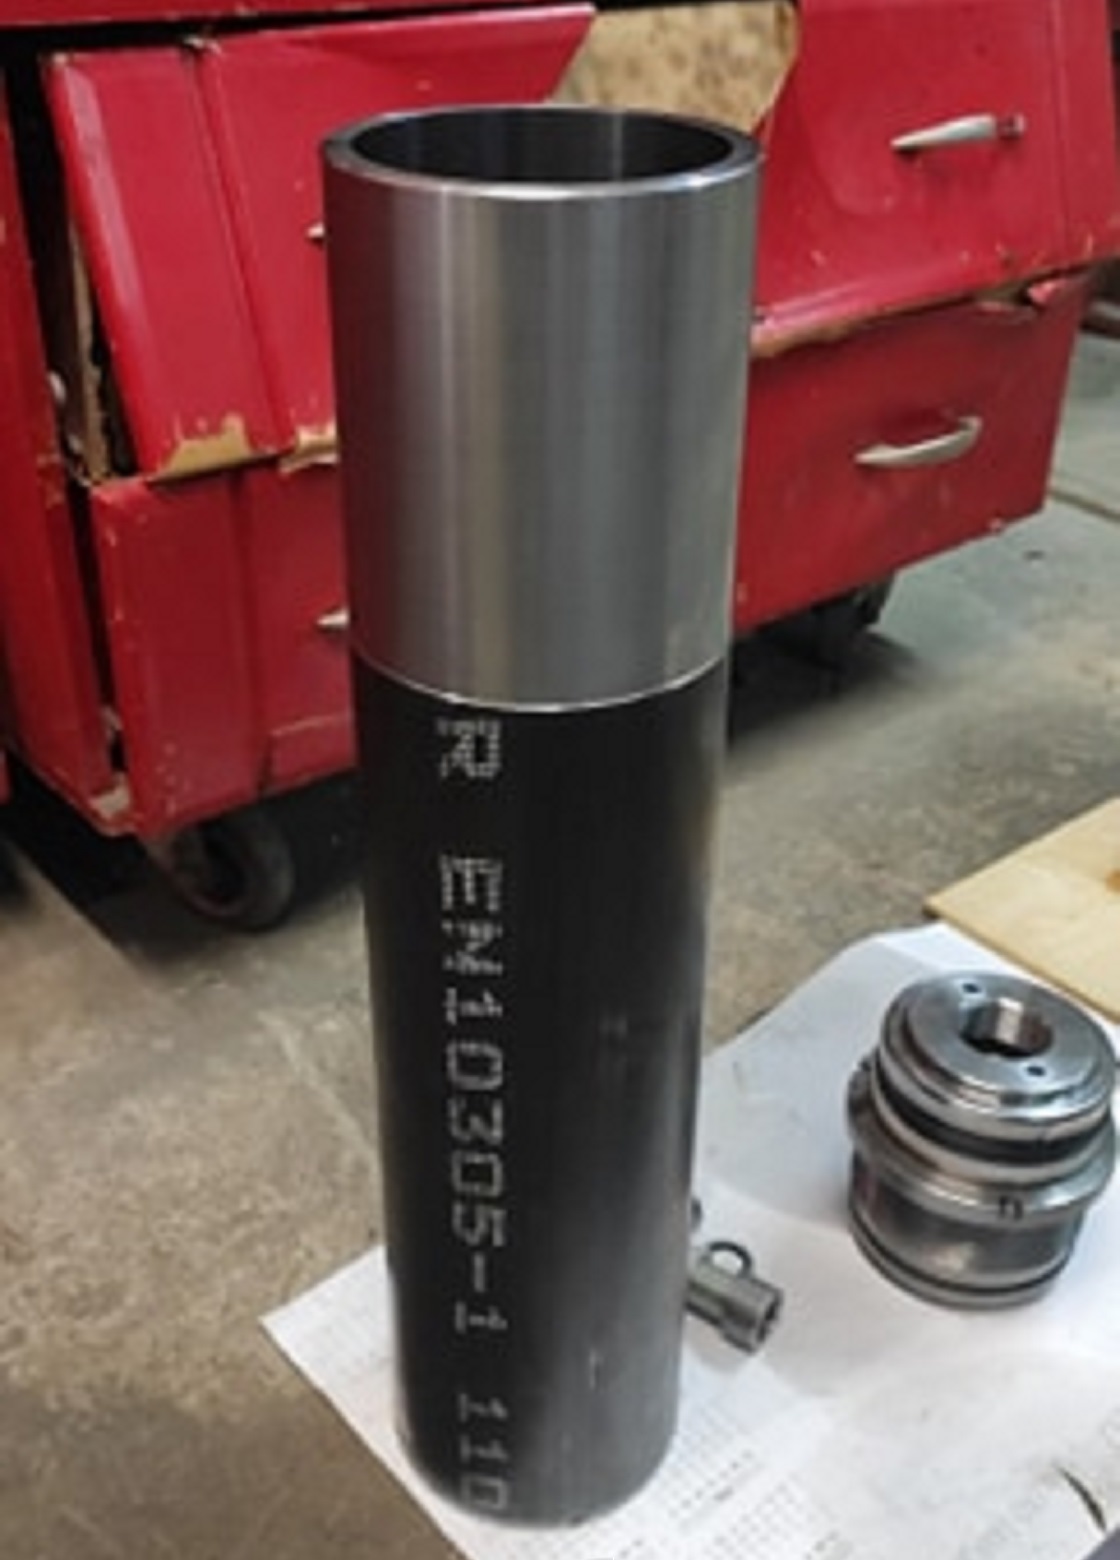
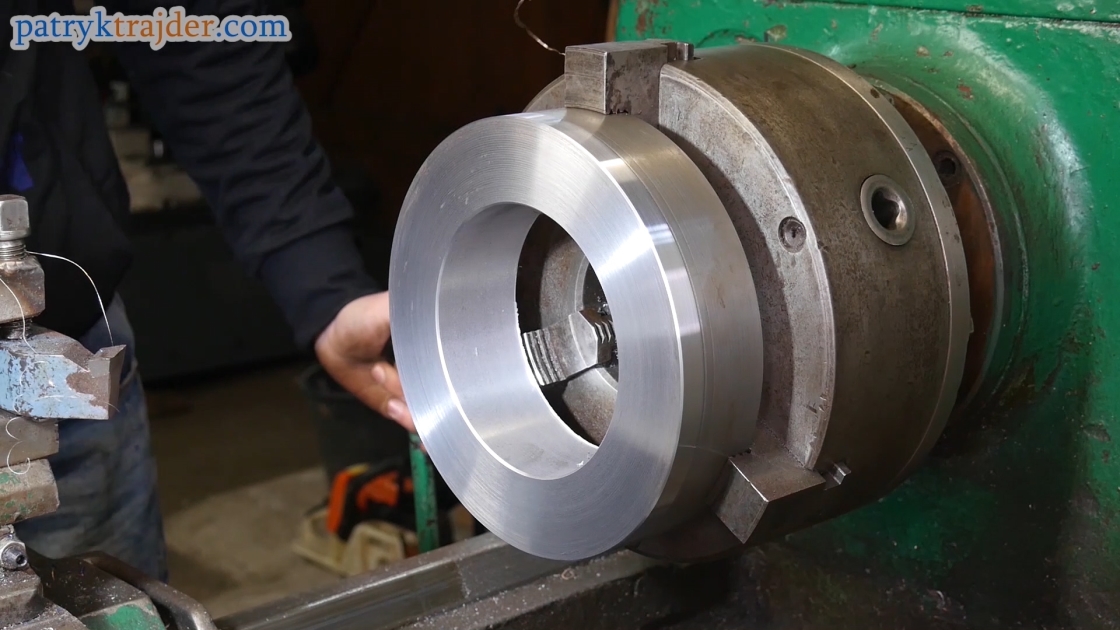
Start by spanking the cylinder on both sides and sinking under the ring. Attention! The pipes intended for the construction of the cylinders are polished inside and have a perfectly smooth and even surface. When you mount a pipe in a lathe for the above mentioned machining, you must always centre inwards. When it comes to the ring groove, you have to make it as long as you want to clamp it later.
Remember, however, that the minimum distance is such that it will fit the return encounter. In my case it was about 16cm. It would be nice if the whole bay was at least 1mm deep per side, so that the ring could then resist during welding. (Note that this treatment shouldn't be shown in my film, because I lost the recording)
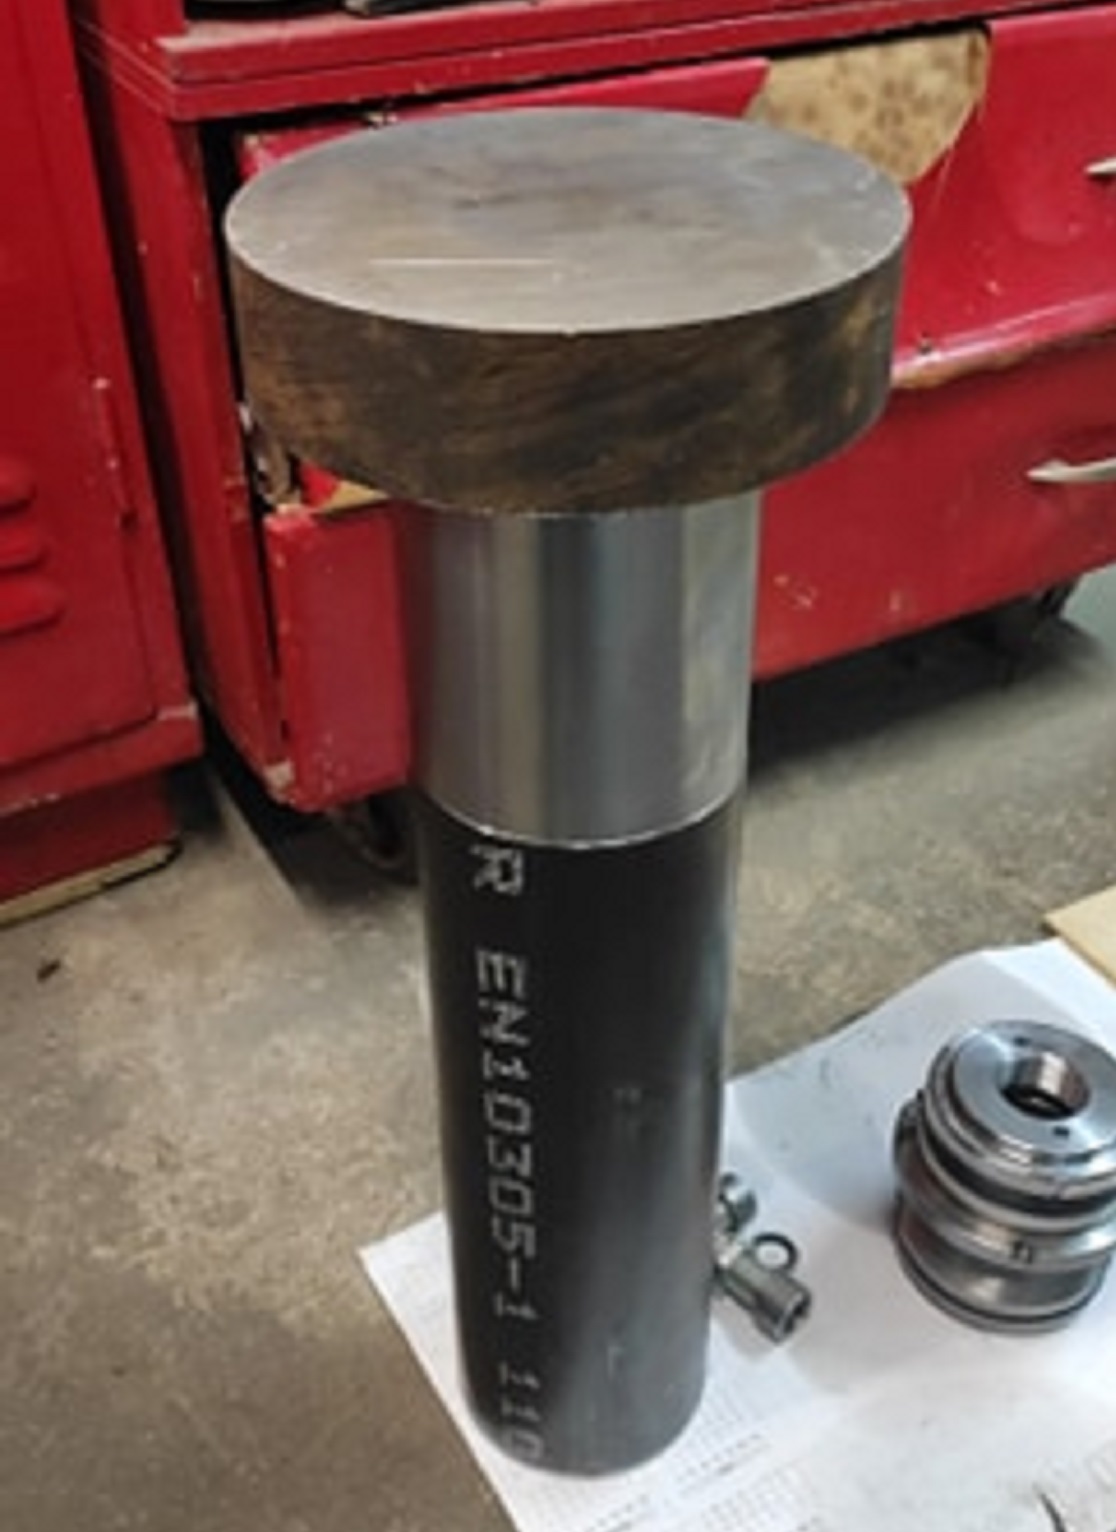
You can now move on to the next step, which is rolling the ring, which you later weld to the cylinder. Before I start describing how I did it, I will add that you can do it in the form of a nut by threading the cylinder and the ring, so you will not have to weld anything and worry about bending the material. But it will be much more work.
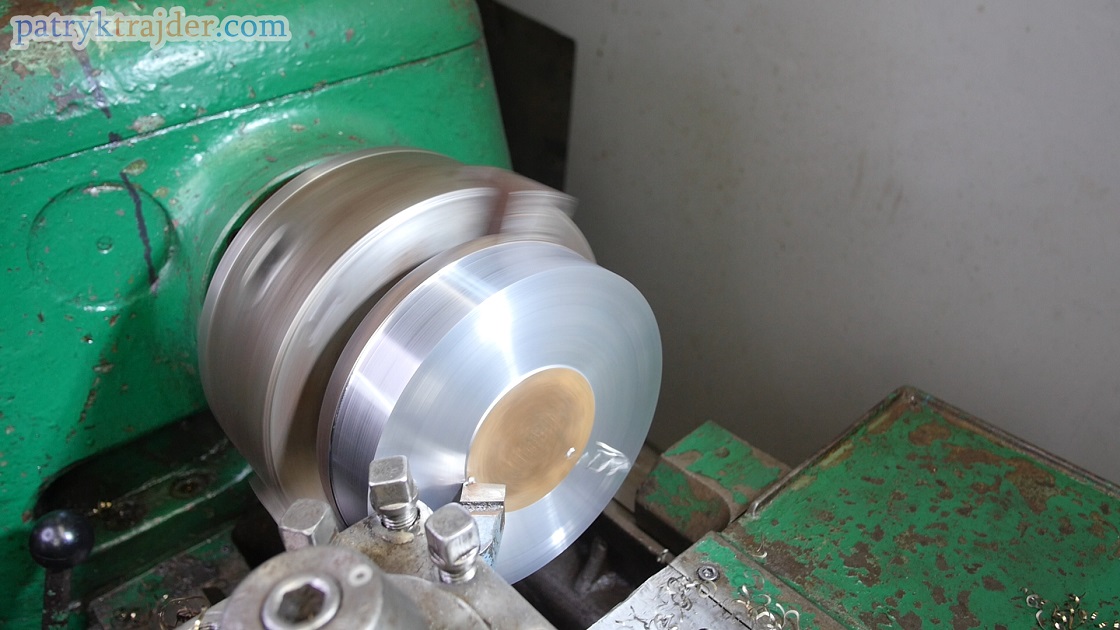
Okay, let's go. You need to roll a rough hole in the middle, spit and level the other planes. At the very end, you'll have to roll the hole with a diameter gauge.
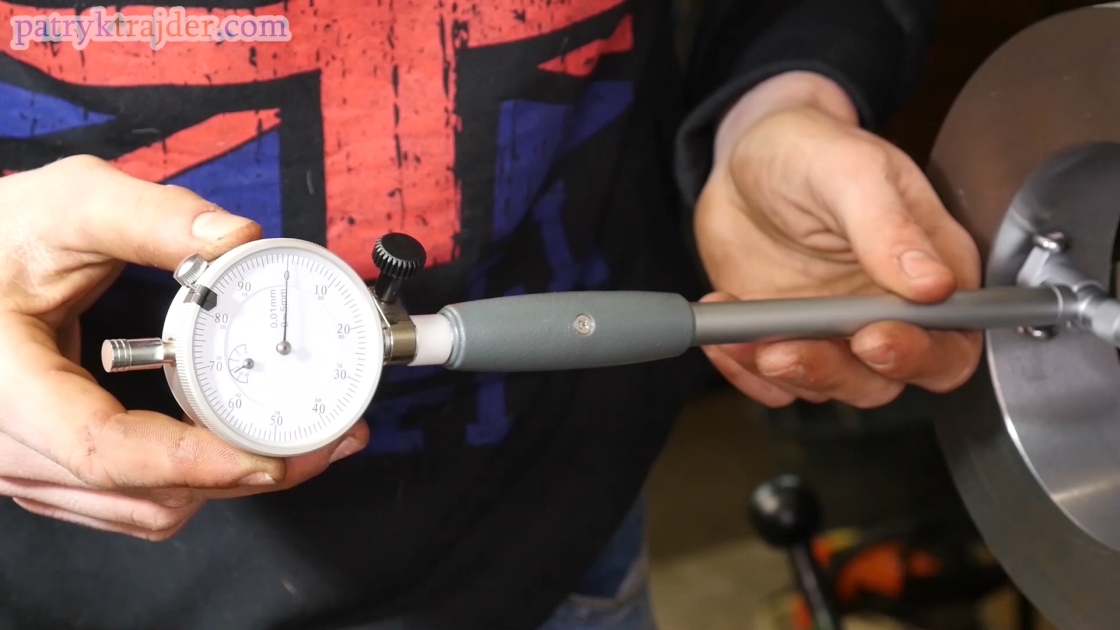
Attention! There must be a dimension 3-4 hundreds smaller inside than the one you've sunk on the cylinder before. The idea is to have a tight fit. This will turn out to be extremely important when welding. This way you will avoid deformations (maybe at this point I saved your previous design).
Before you take the material out of the lathe, I still have a little tip for you. Use a lathe knife to strike a circle that will cut through the centre of the mounting holes. You will be very grateful to me for further routing. (at least I hope so ;))
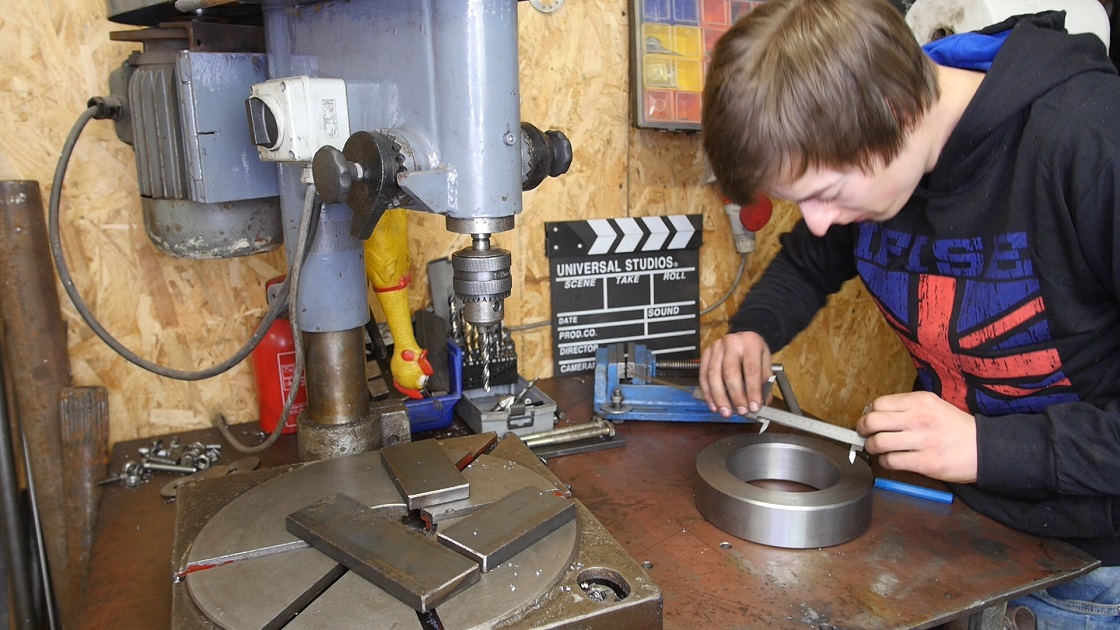
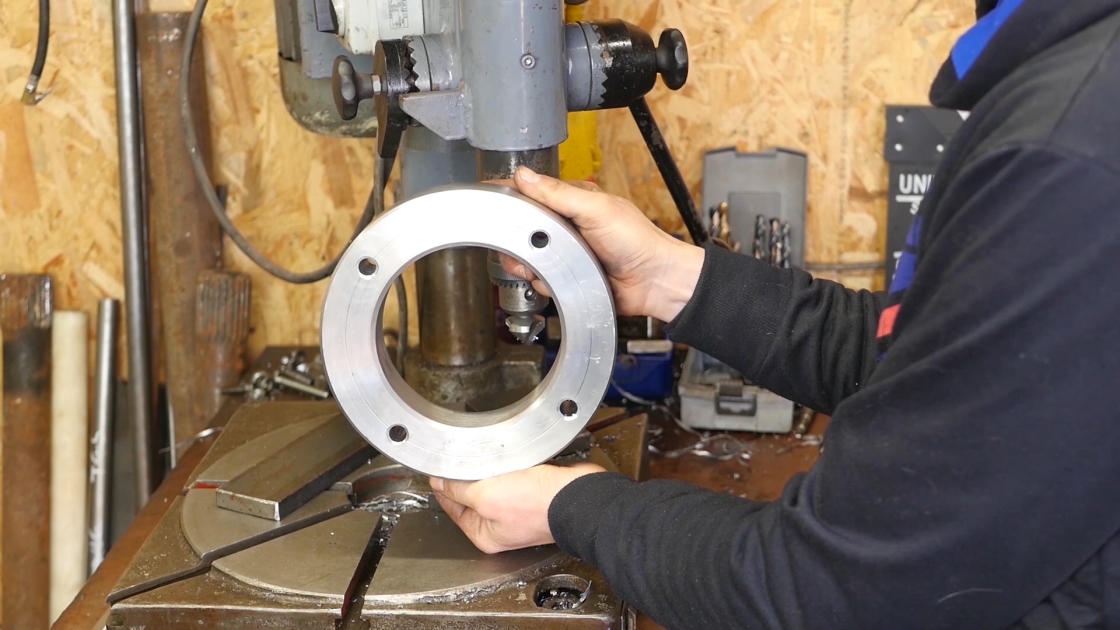
in a pre-prepared circle, press the mounting holes, I did 4 at equal intervals. For this purpose, you can place the numbers on the slide caliper until the same dimension coincides at all four points. If you like to count and the trial and error method is not for you, you can use the diagram below.
First calculate the radius and then the length of the circle. Once you find out what the length of the circle is, simply divide it by 4. (basically it was nothing revealing)
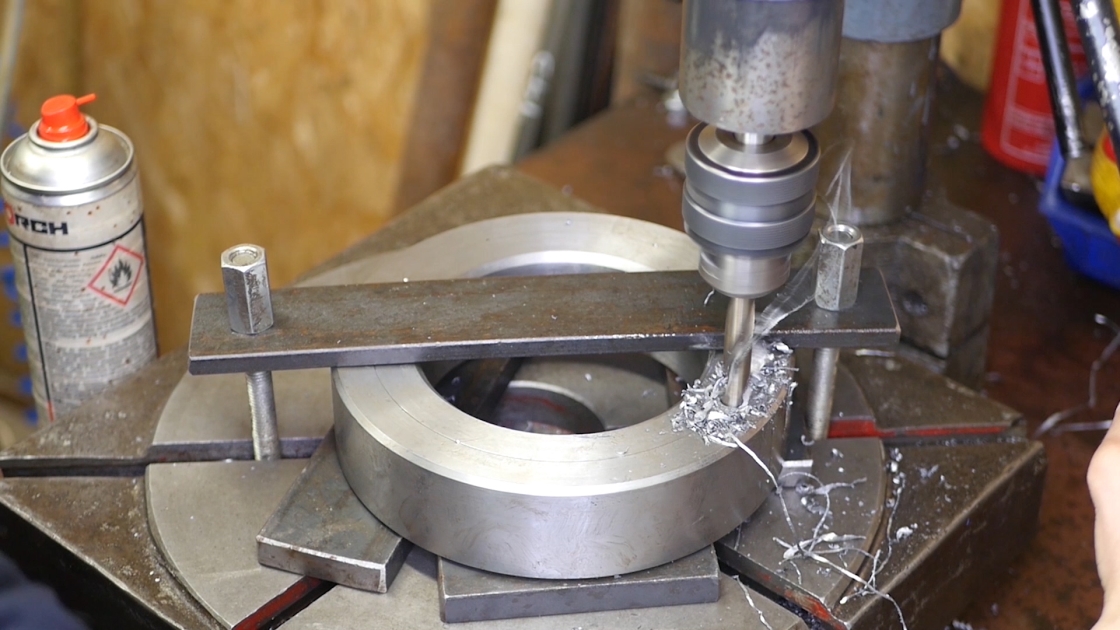
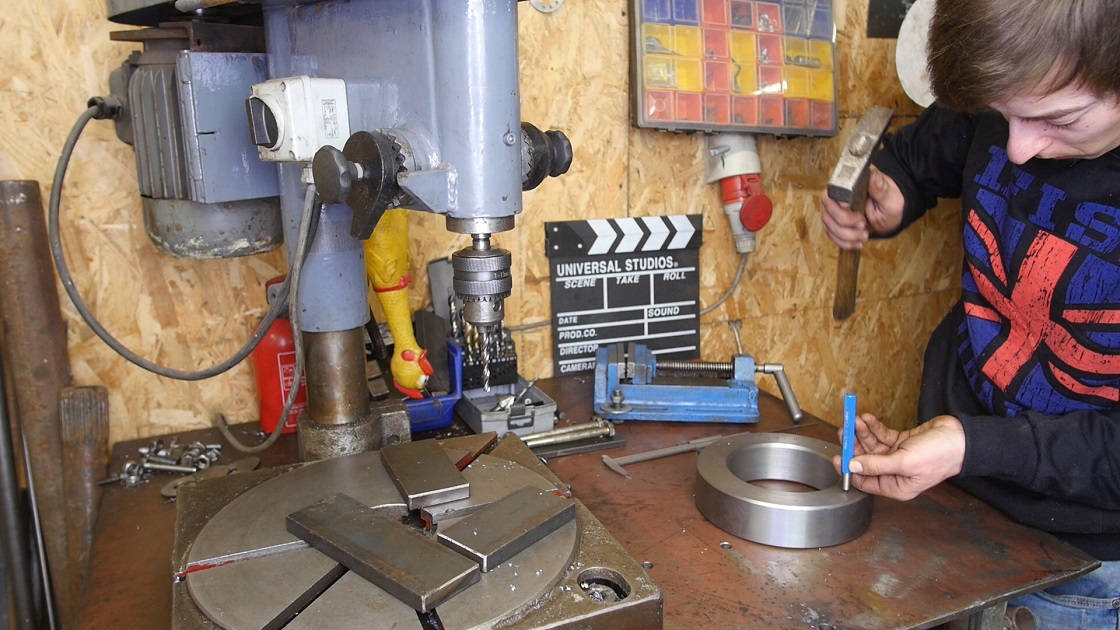
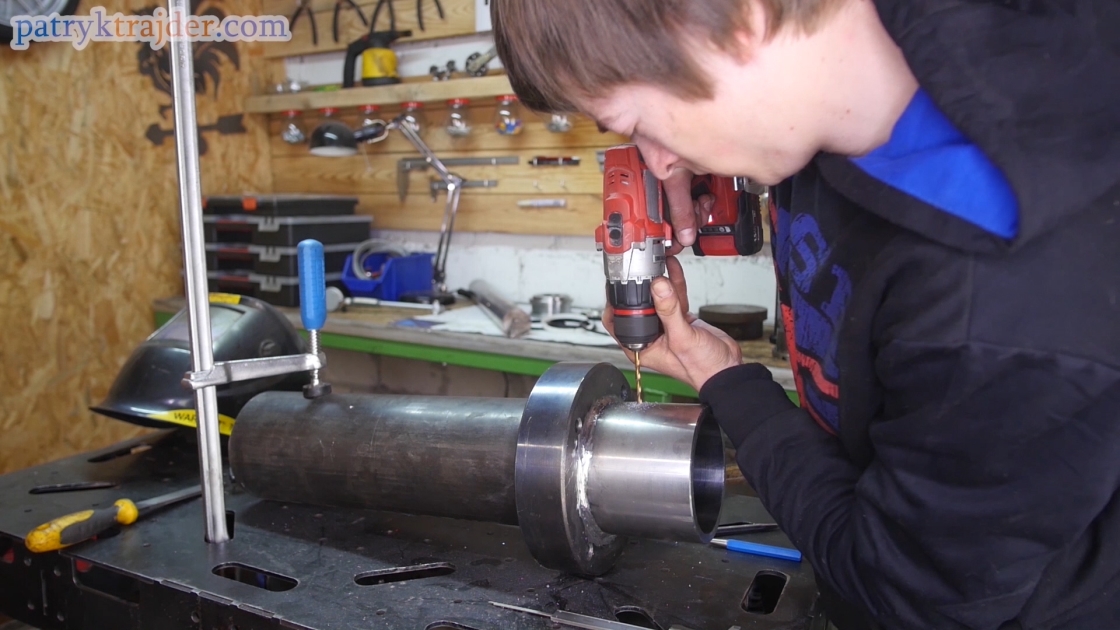
The holes are already pressed, so get on with the drilling. Hm... drilling. Seems cool, doesn't it? Not exactly. Because the collar is 5 cm thick, it's rather bordering on a miracle that you can make these holes with a hand drill (unless you're a descendant of Pudzian, crossed with the Hulk, and your drill is so strong that if you're drilling something, there's no electricity in the whole village)
A table-top drill will work well here, but if you don't have one, I recommend that you give it to somebody else. It's your business whether it's gonna be a buddy who'll do it for four packs or some company for two dimes.
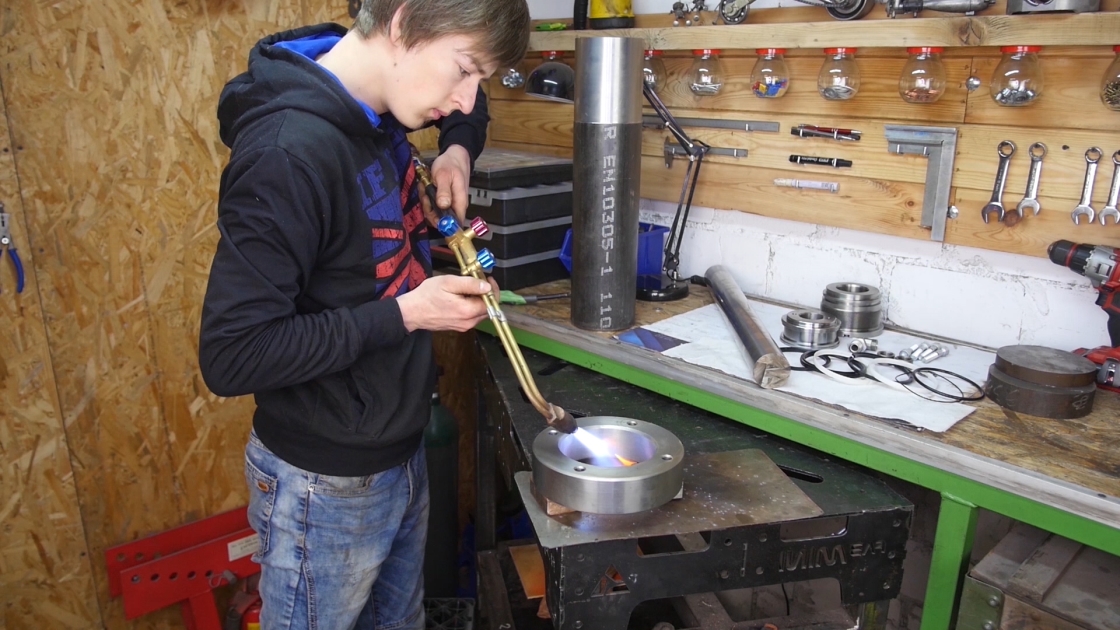
The finished ring must be gently warmed up before putting it on the cylinder. Try to do it as evenly as possible.
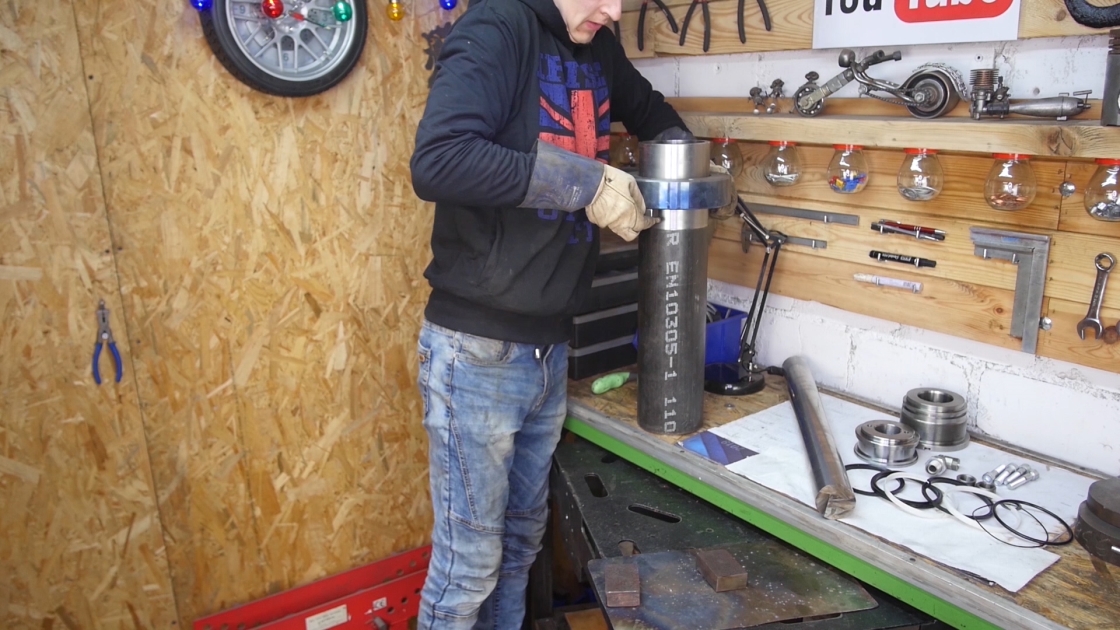
It's best to heat the ring a little harder so that the sleeve doesn't stand halfway, because then you'll have a problem, seriously.
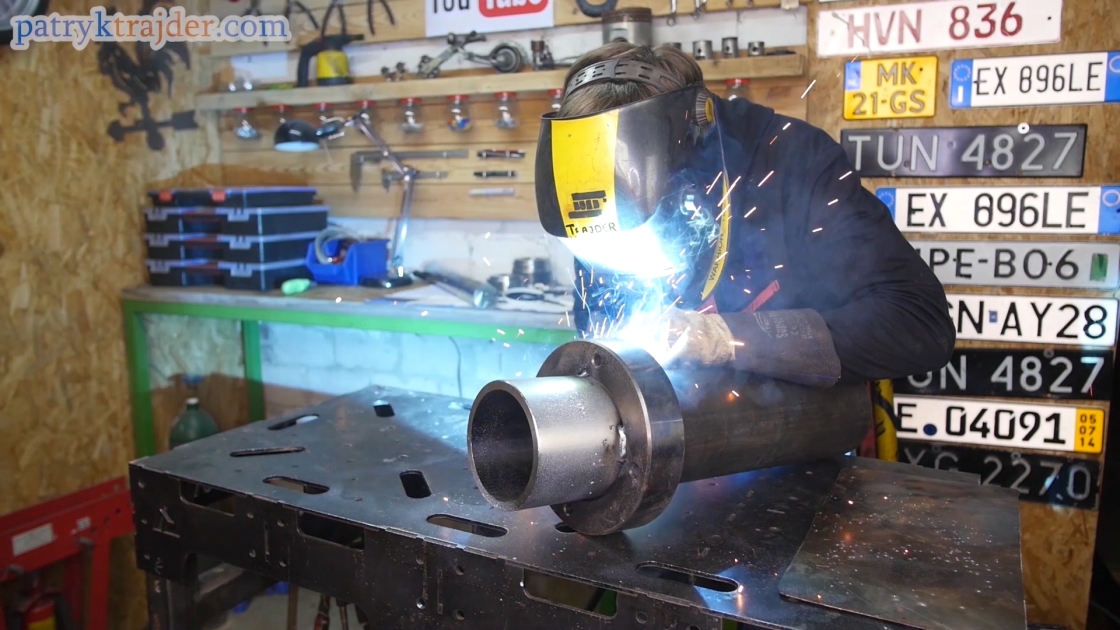
You can go to welding now. I know that it is read by professionals and people, but just as a reminder: we are hefting crosswise and so are we welding. Do everything as quickly as possible (here time is your enemy) so that no deformations can occur. Remember that in the middle of the cylinder you already have the dimension ready.
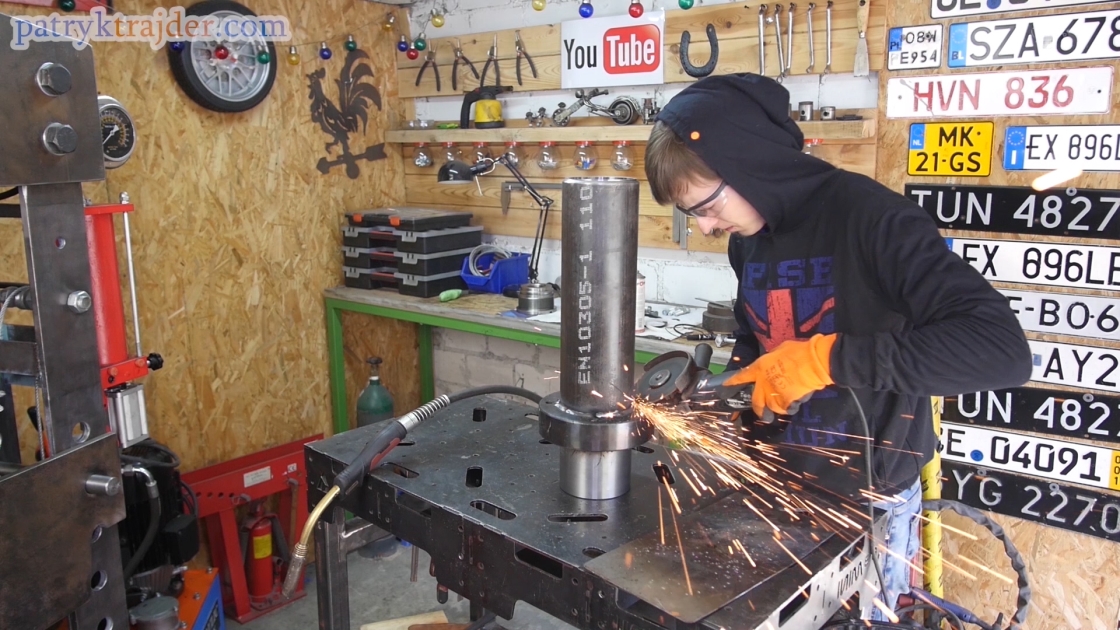
This point is only for those who, like me, need to do their job with the sander 😉.
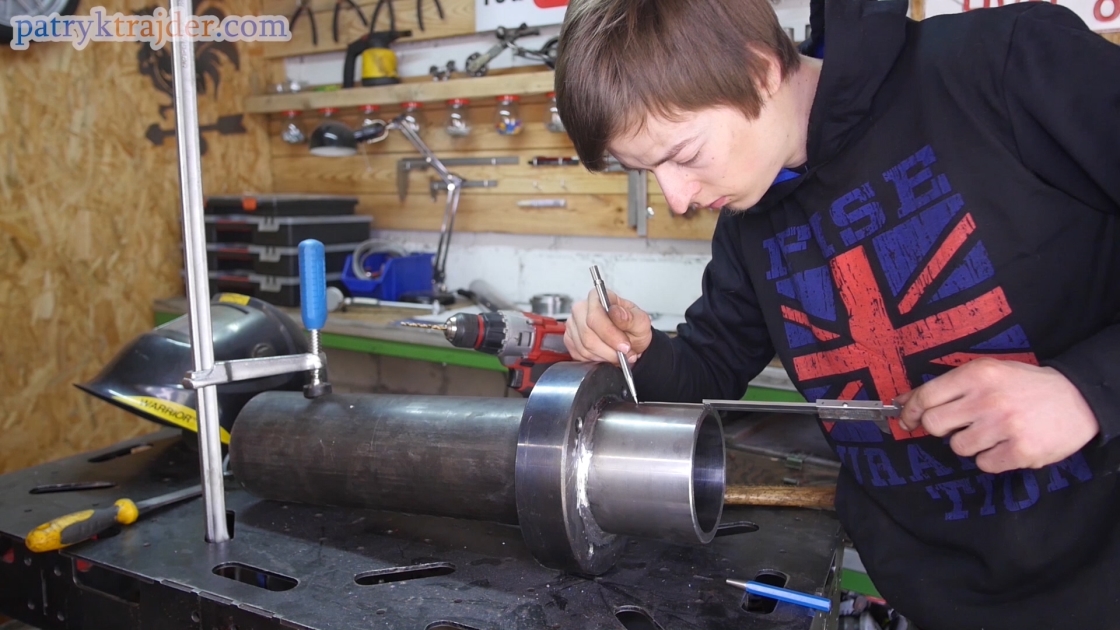
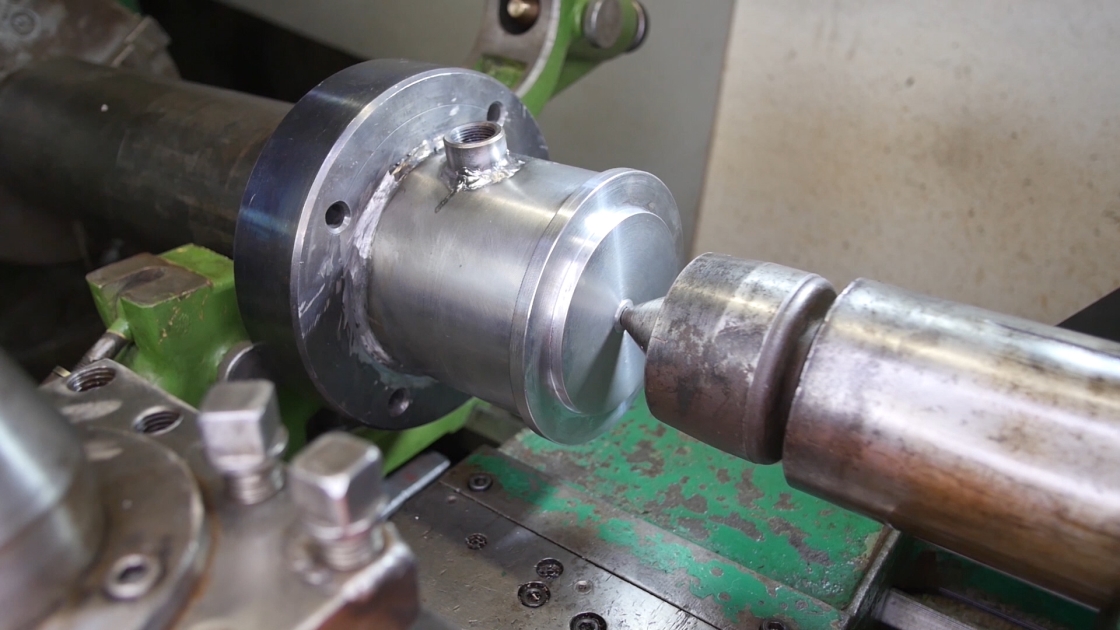
The next step is to carefully press the place under the oil return opening
and gently drill it (do not drill to the end, because you will be rolling here in a moment, and as you know a turning knife does not like holes)

Then you weld the return tip. This is all the more important to do now, because later welding here may spoil the thread that you are about to do.
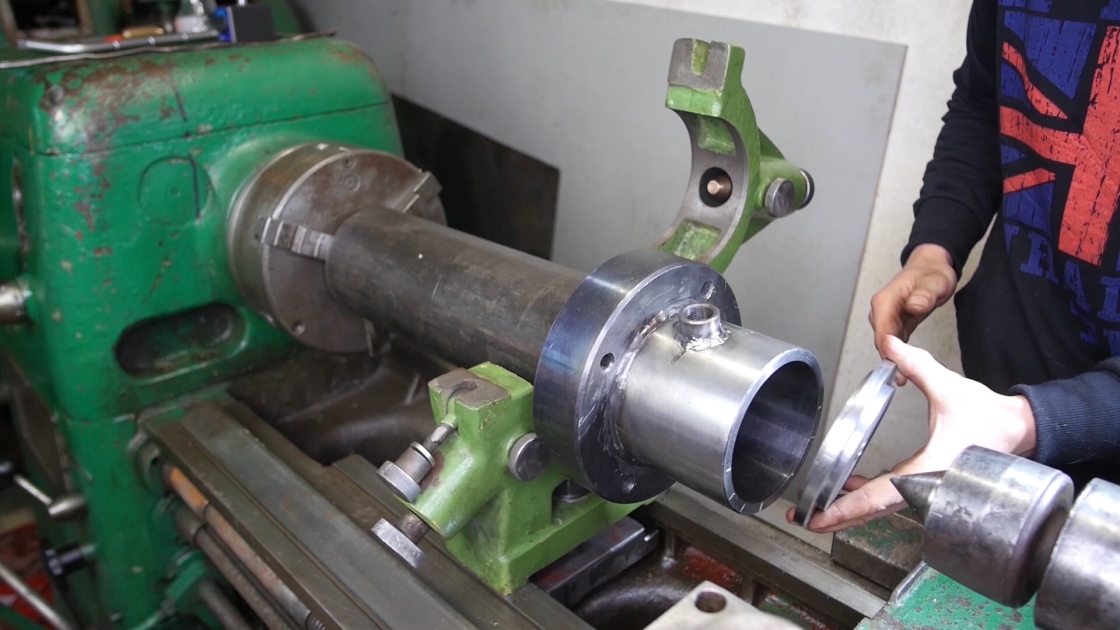
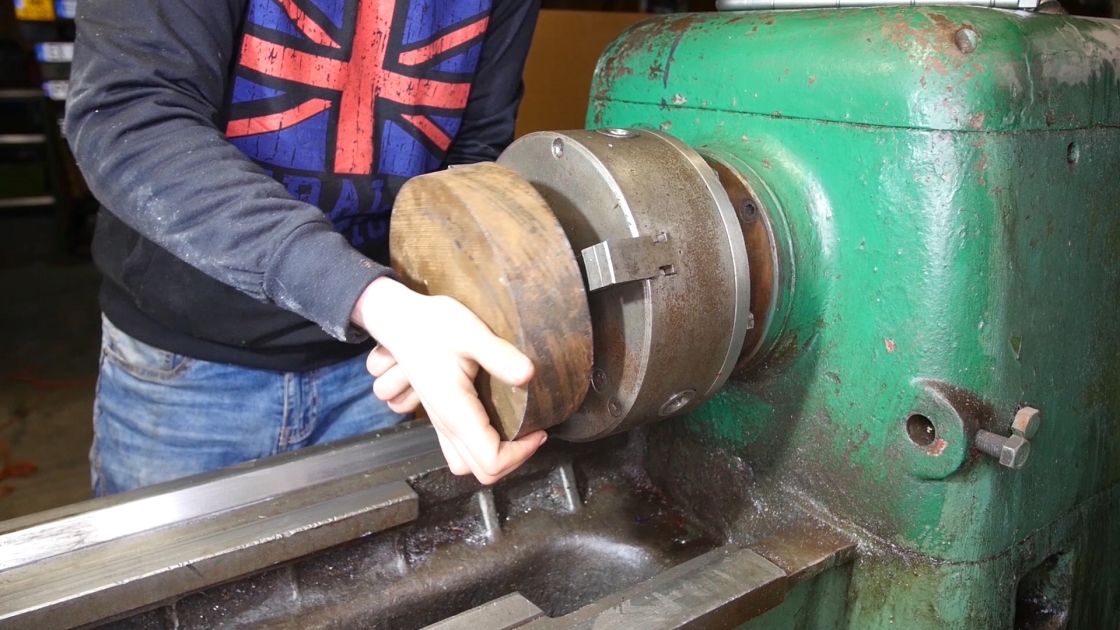
Now your work must go to the lathe.
In the film I showed exactly how to prepare the base for the eyepiece so that everything is centred inside. You have to use the lid, on which you will make an even base for the eyepiece.
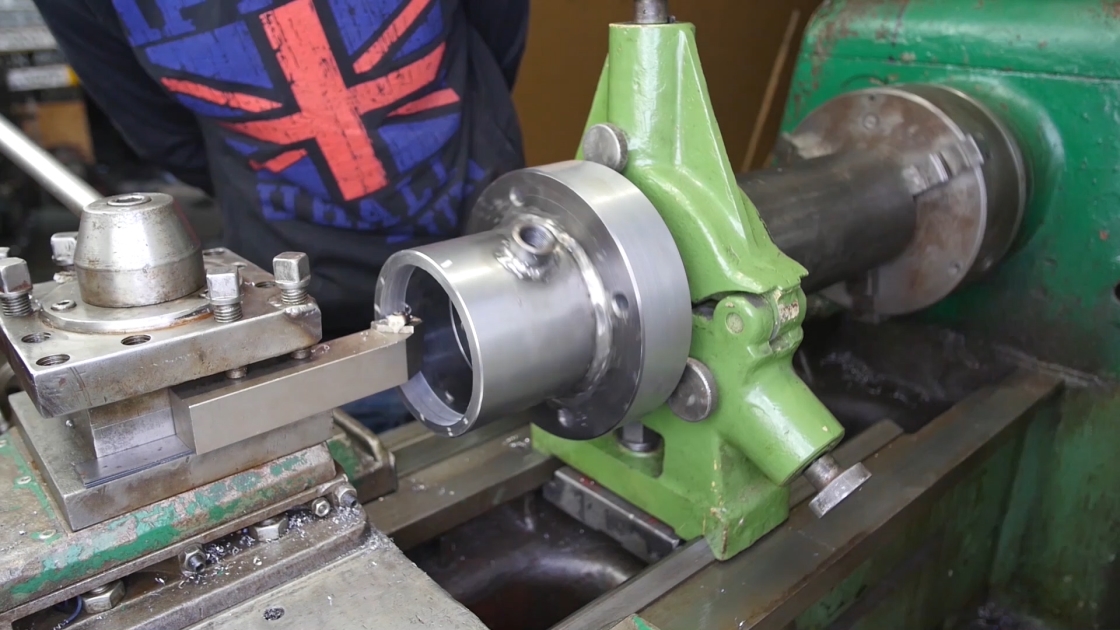
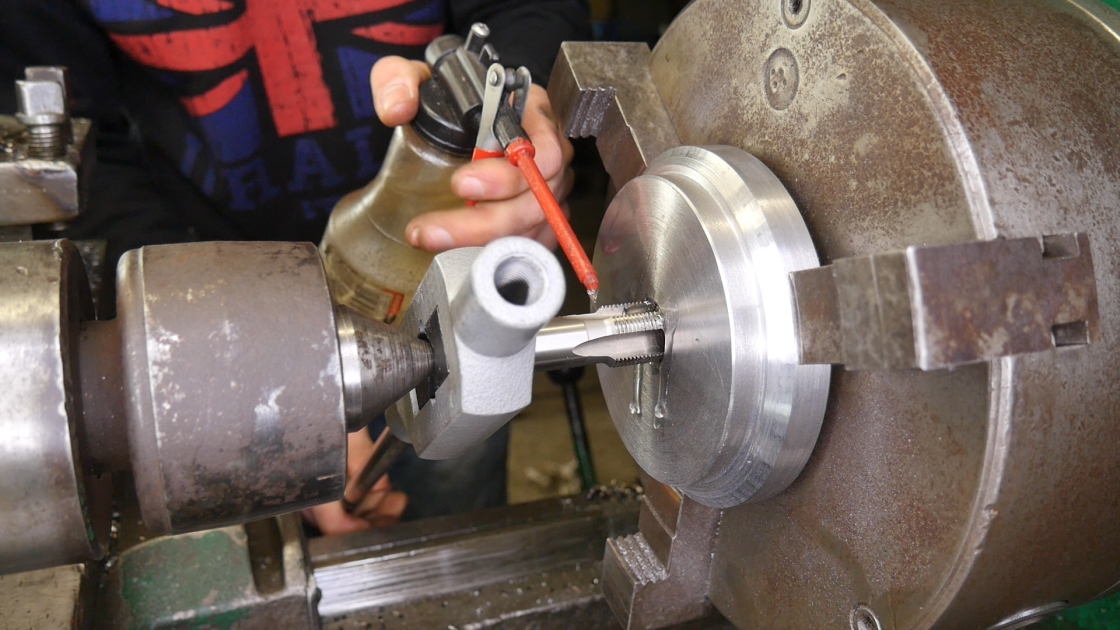
Once you've worn your glasses, you can go to threading, etc.
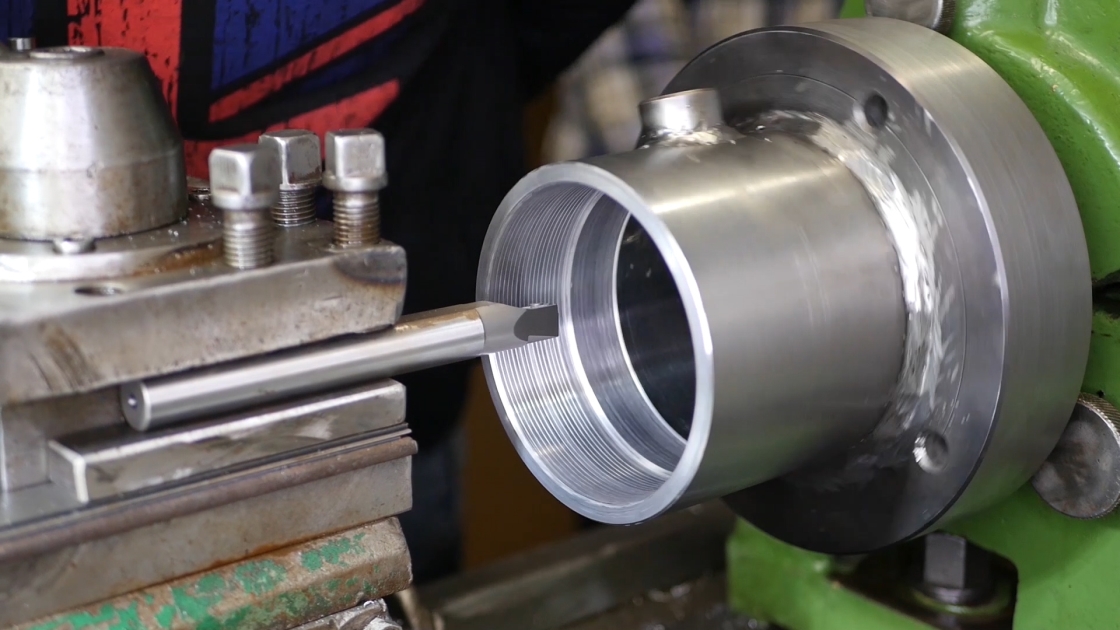
at this point, I can't give you the ready dimensions because you have to move them from your gland.

Remember also to make all endings with a very gentle exit, so that subsequent mounting of the piston with gaskets is easier.
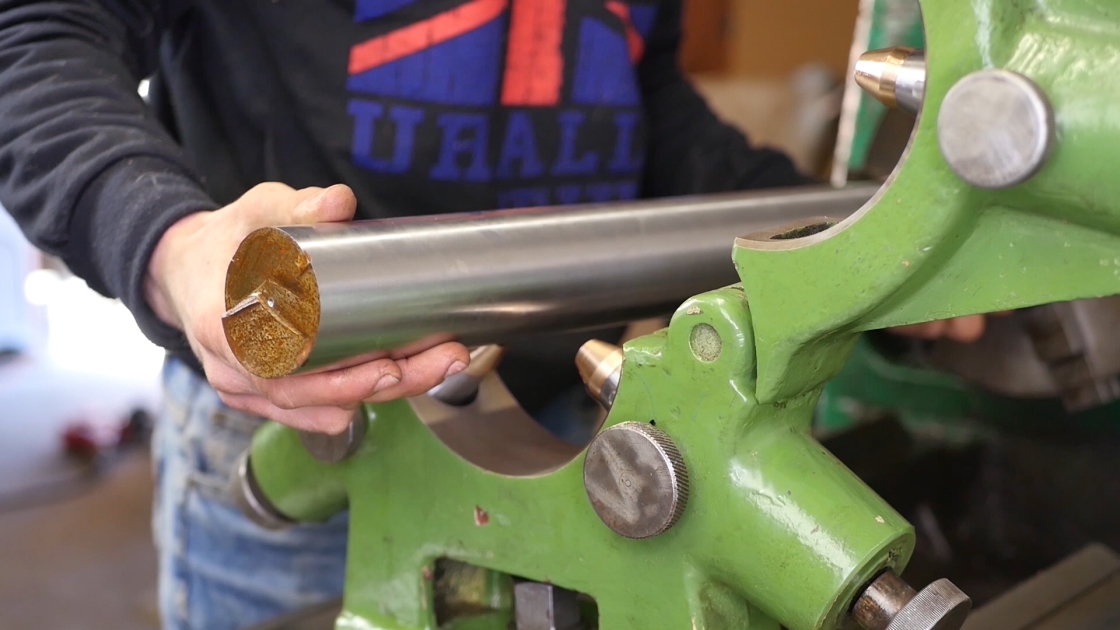
So now it's time to process the piston rod.
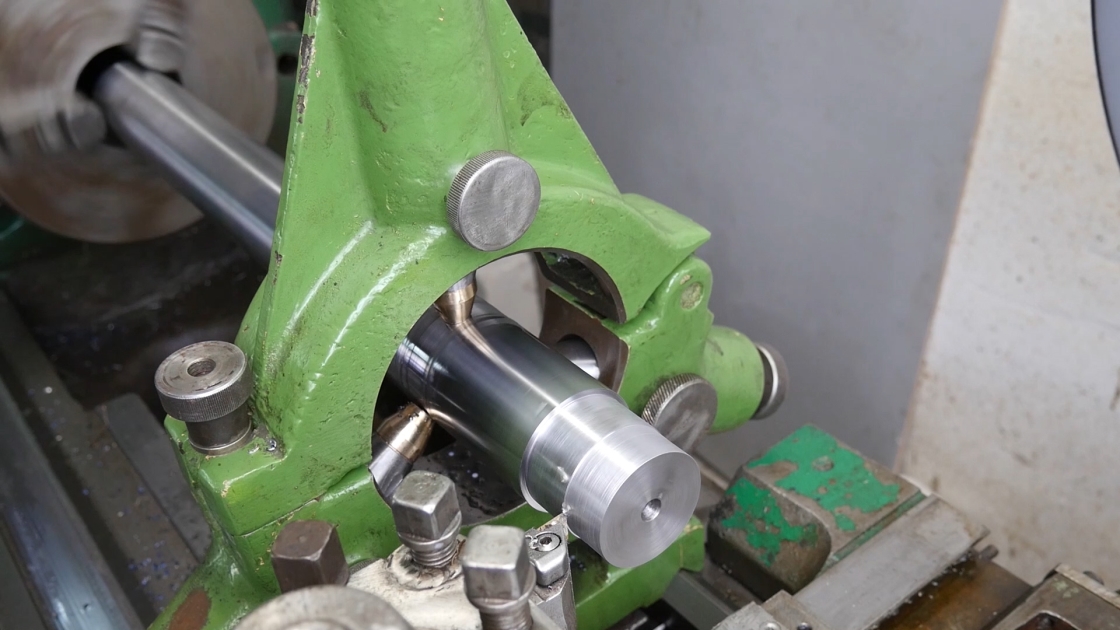
Here also move the dimensions from the piston rod you bought (each is different).
Make a thread in it.
On the other side of the piston rod do the fastening for the accessories you need (there are many different kinds of endings you can do, depending on your needs) I went for an easy one and made an ordinary hole ;)

In the picture next to it you can see an example of an interchangeable cap,
The pressure screws, so called worms, will work perfectly here ;)
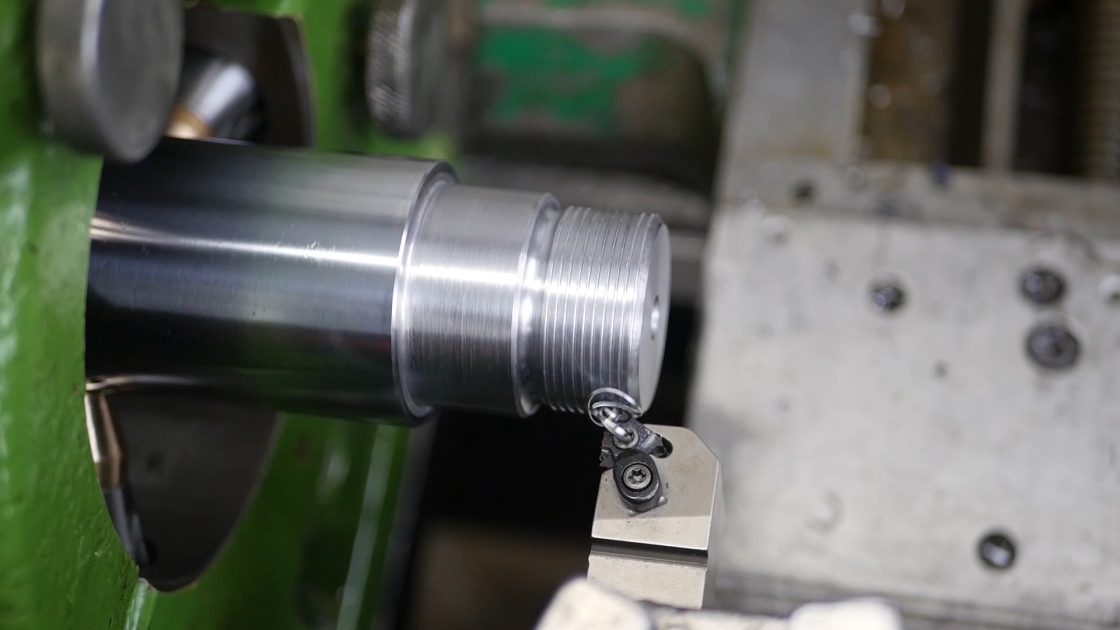
in the next step, we're going to make a barrel sticker
rolling the decal, let's remember the big phase under the weld
in order not to weld any threaded pins
additionally, I recommend to make a thread in the lid itself, but remember that it must be sufficiently thick
so that later the screwed-in reduction does not go through
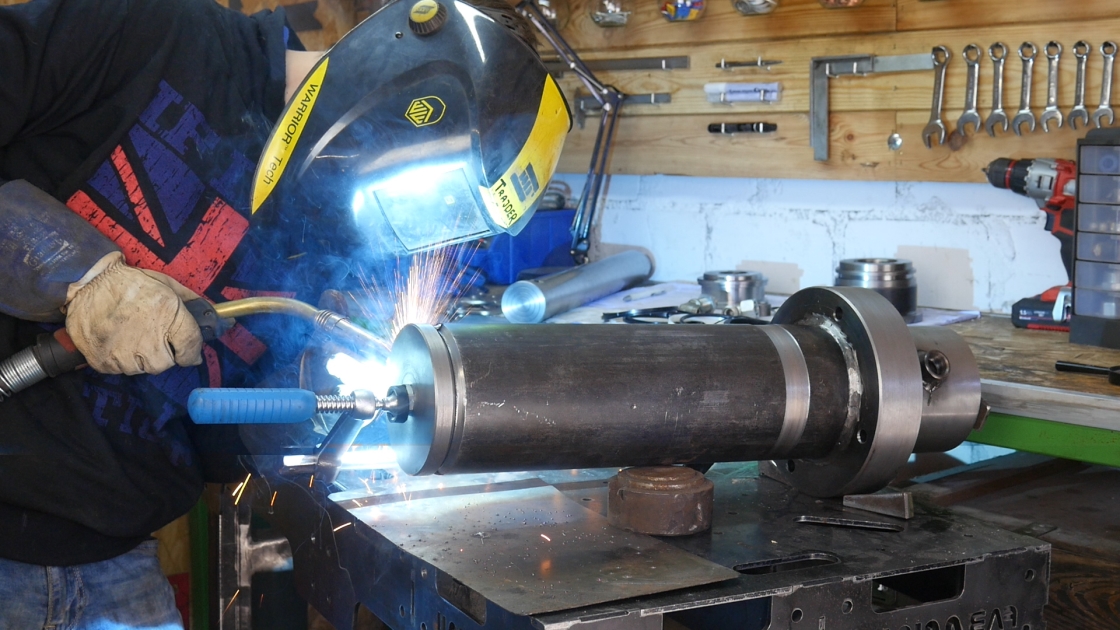
as in the previous welding, here we do it crosswise and as fast as possible
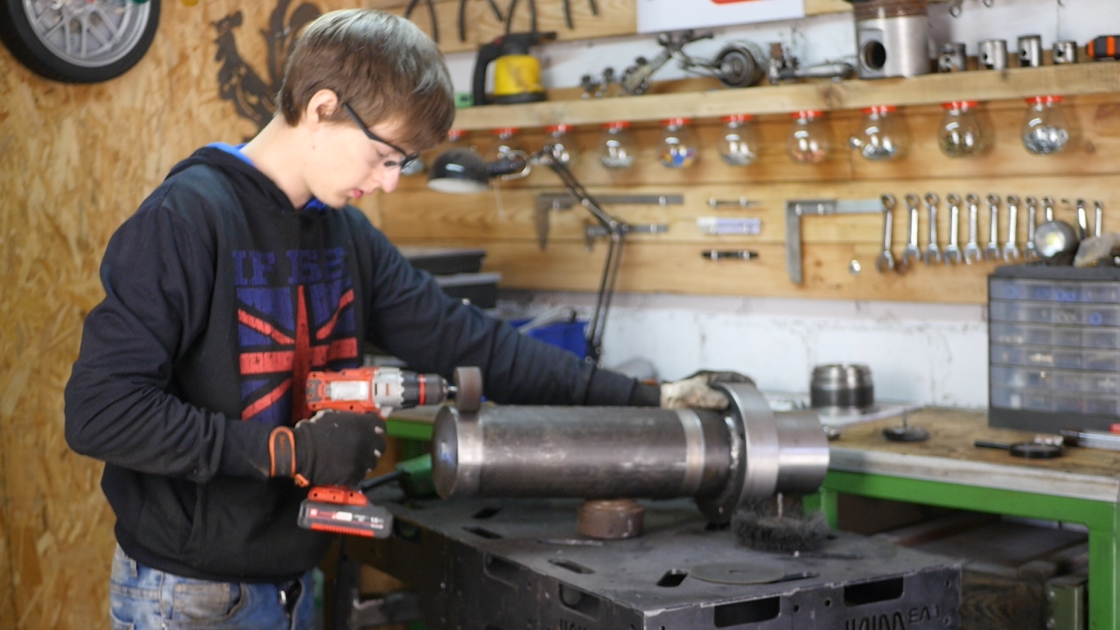
I personally had to grind the weld to zero
for the actuator to fit into my press,
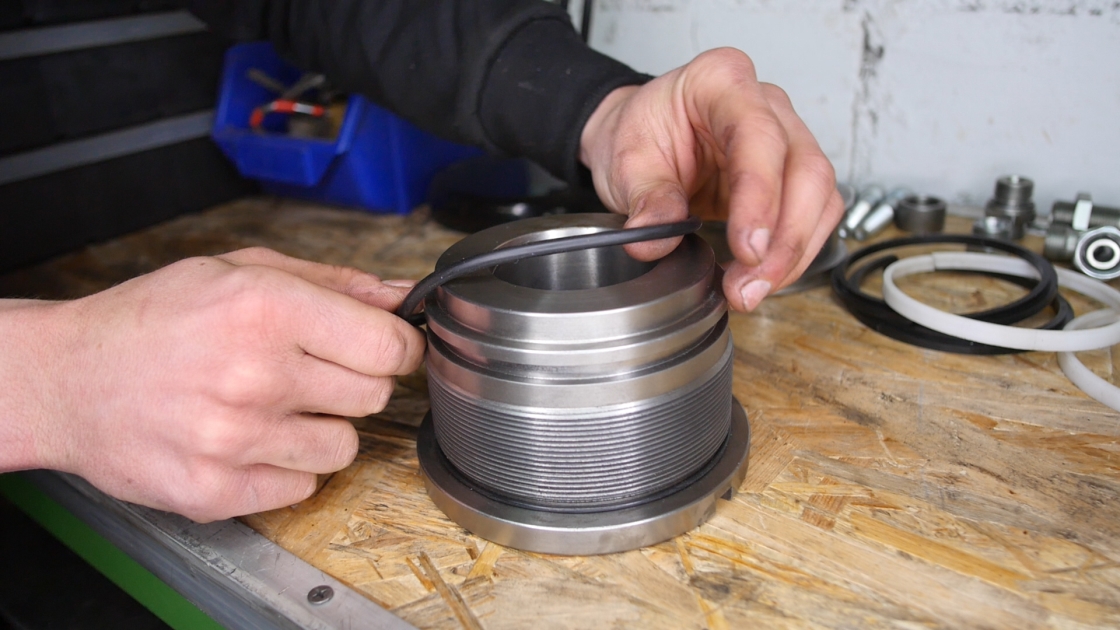
time for installation of gland seals
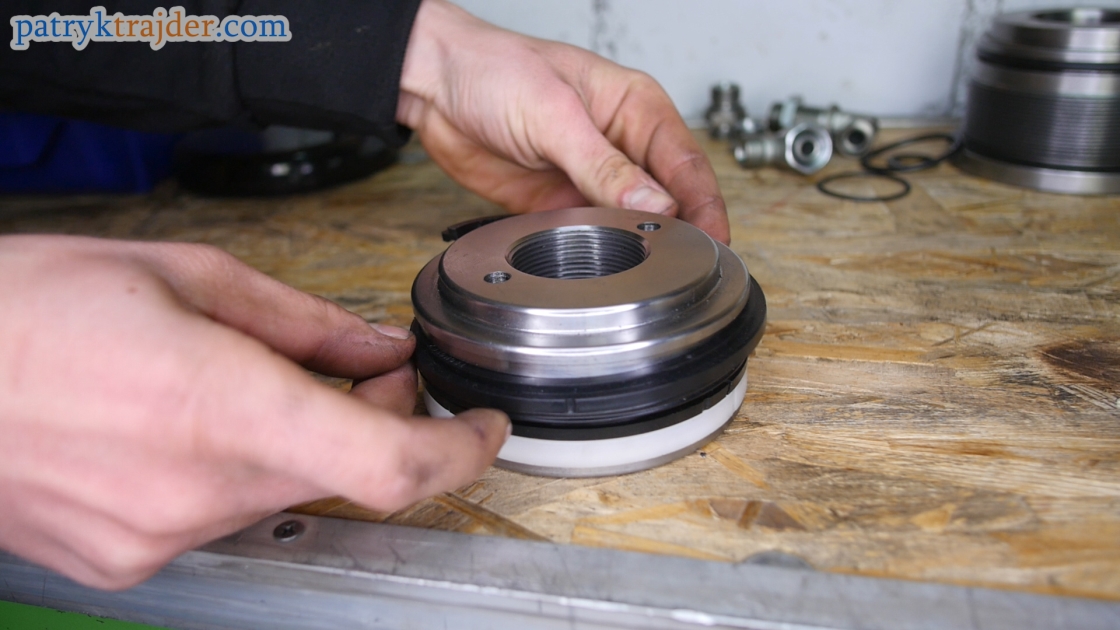
and piston rods ;)
Mount the gland on the piston rod...

..and slide it down to make room for the piston.

Screw the piston to the piston rod

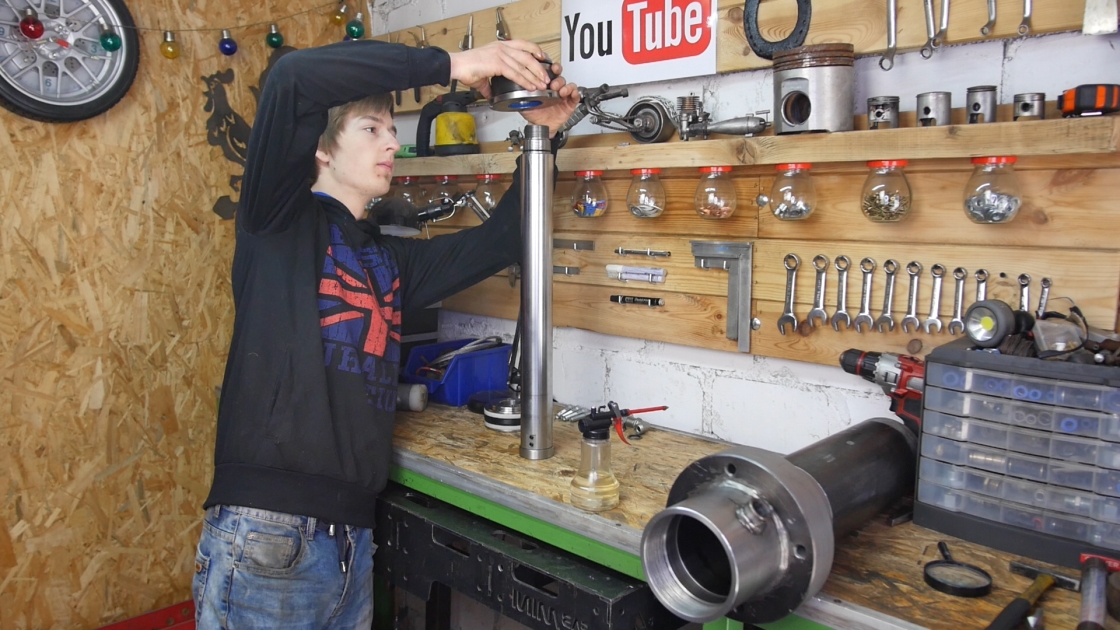
time to mount the piston rod with piston and gland to the cylinder. This is quite a challenge without special equipment...
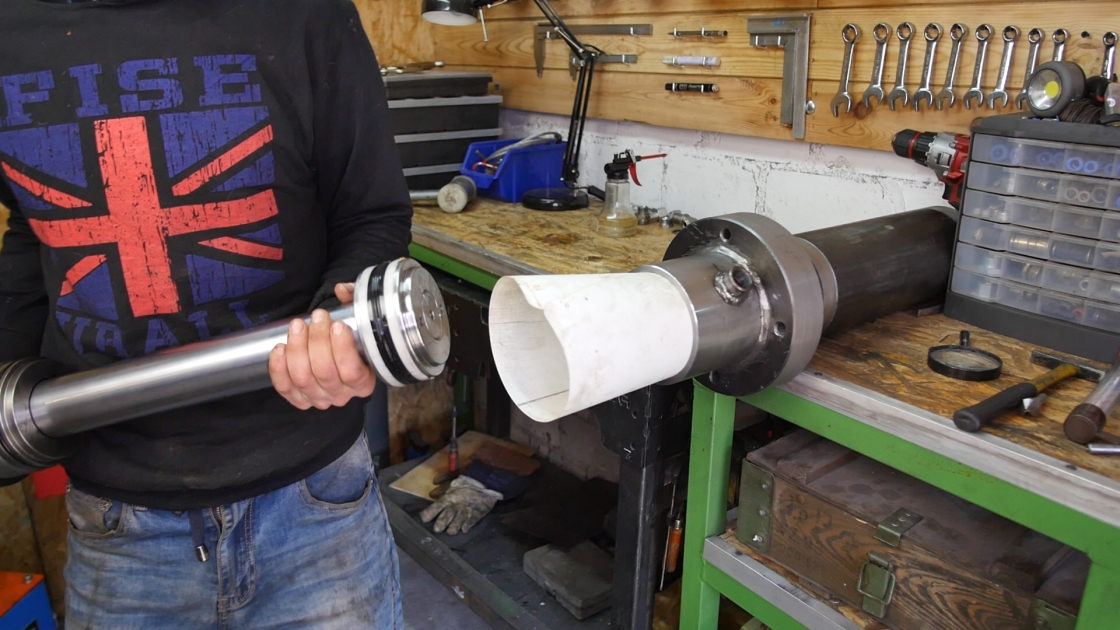
I used an ordinary breakfast pad in the flowers to make the sealants on the piston "jump" into the cylinder
Slide the bar slowly into the cylinder
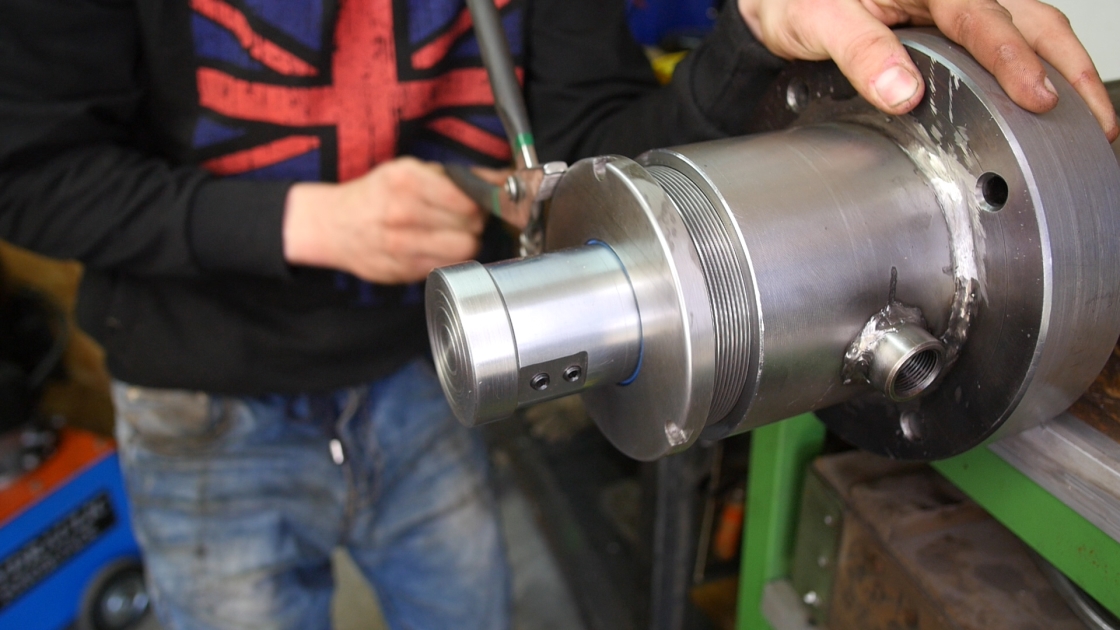
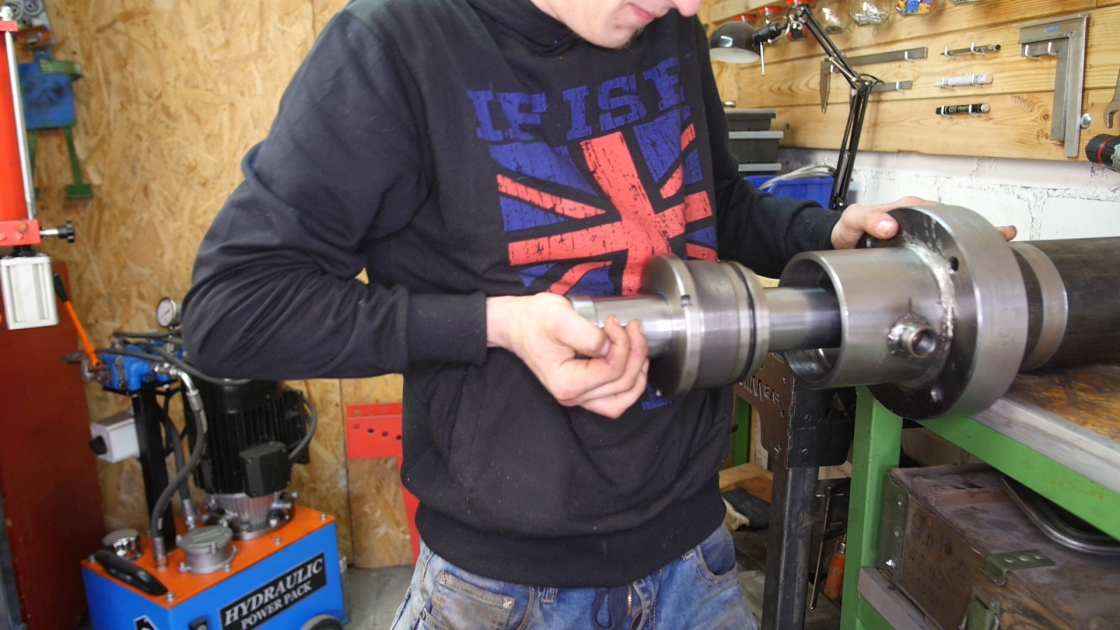
in order to tighten the glands we theoretically need a hook wrench, but I do not have such a wrench I managed to tighten this element with hydraulic pliers (even the name fits) so-called "frogs
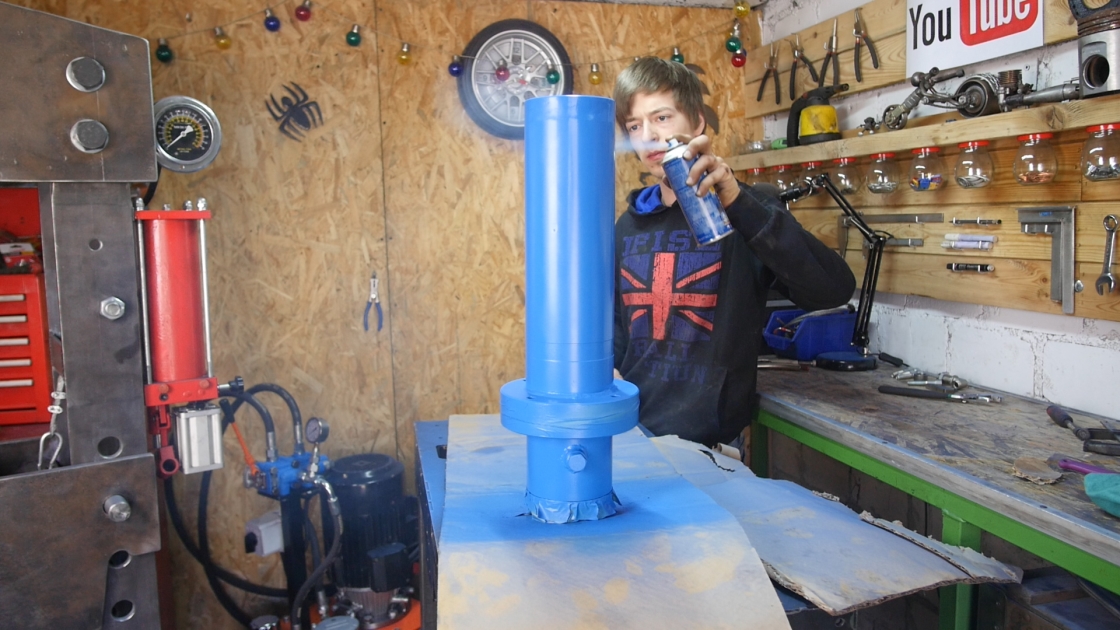
The hydraulic cylinder is almost ready. All that's left is to paint in your favourite colours...
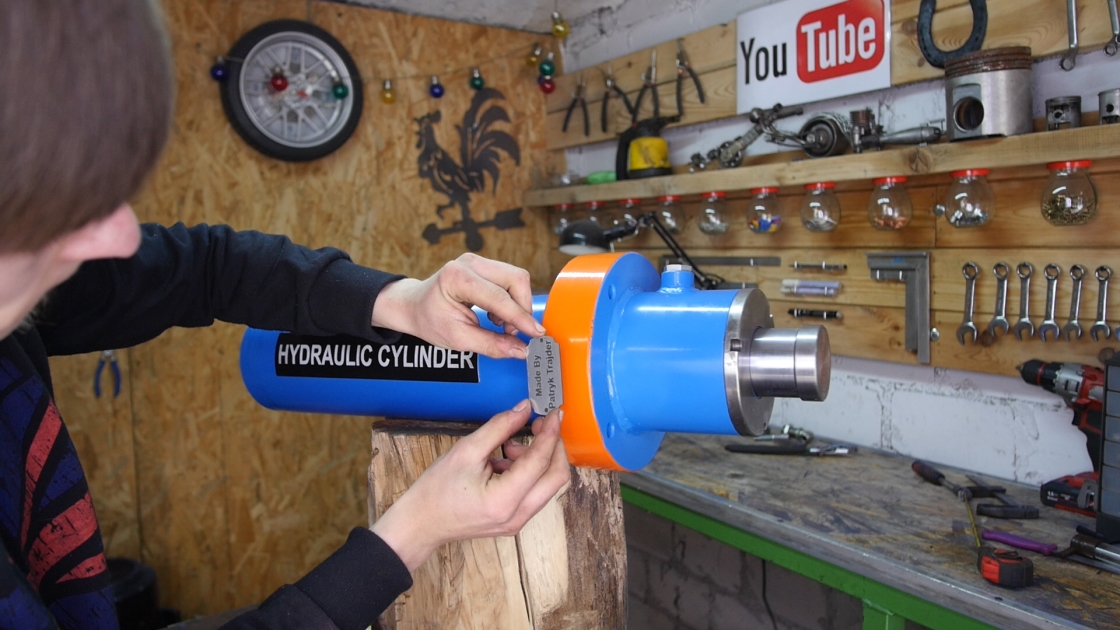
..and stick stickers to make our work more professional! 🙂
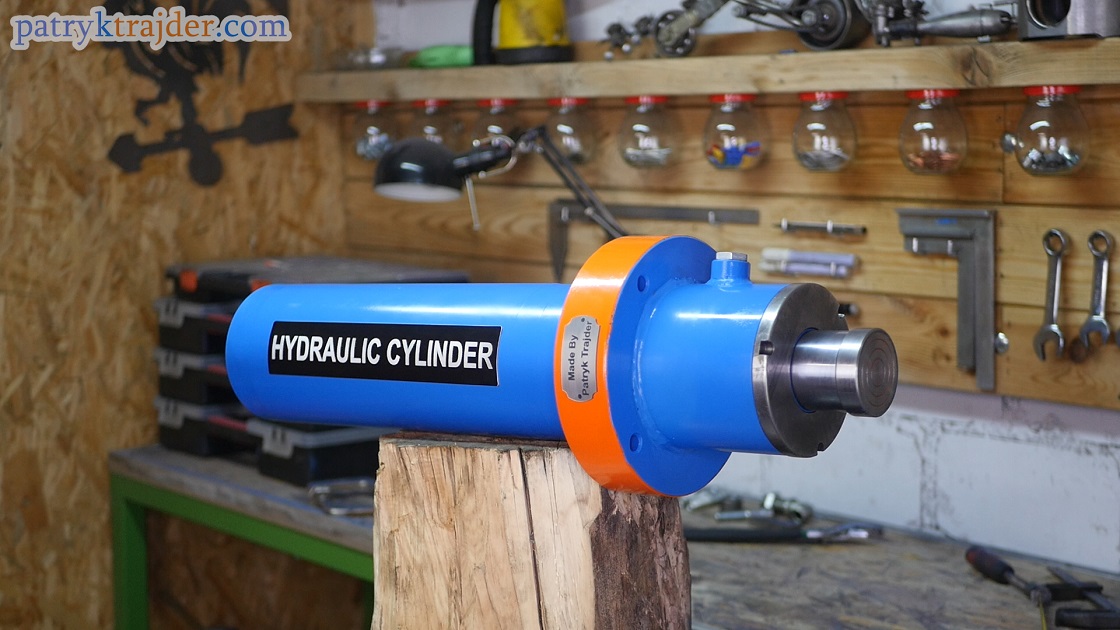
Rightly completed
The above article is available for free, expecting nothing in return. Still, I will be very pleased when you send me a picture of your project after building your unit, to which, as if not looking at it, I added some advice. 🙂 This will be the best return and a sign for me that what I do makes sense.